Going on safari is one of those bucket list items for most of us. Personally, my safari experiences are some of my most cherished ones. Driving through the bush and watching animals as they go about their business and being able to just sit there and enjoy the view.
I like to enjoy the moment while I’m there, that is always my number one priority. But lately I’ve found a new hobby: photographing wildlife. As an amateur photographer, trying to capture moving animals and learning how to use my camera so that in low light conditions, with moving subjects, my pictures still came out sharp; proved difficult.
This is my list of wildlife shooting tips – written by a totally amateur wildlife photographer. I’ve learned these through experience and talking to rangers and guides – they sure know how to use a good camera well.
Looking for unique accommodations in Africa? Check out Sweet Dreams for inspiration and reviews!
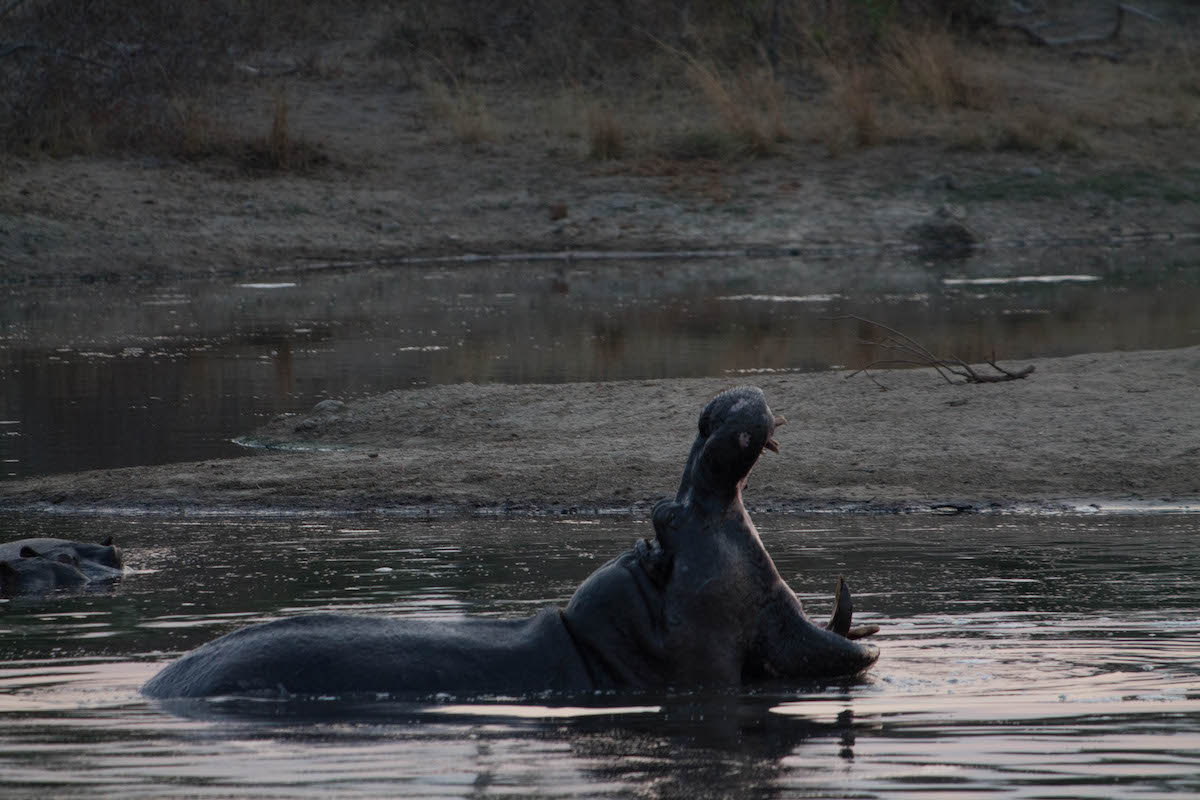
Table of Contents
6 wildlife photography tips for amateurs
1.Use your shutter speed priority mode
When taking pictures of moving animals in low light conditions (during dawn and dusk) you will need to increase the shutter speed to get sharp pictures. The shutter speed priority mode (usually shown as Tv mode) will allow you to give the shutter enough speed to capture a still moving object.
The idea behind it is that the shutter speed needs to be quicker than the movement. The quicker the movement (let’s say an animal running) the higher (let’s say 1/2000 for example) you will need your shutter speed to be.
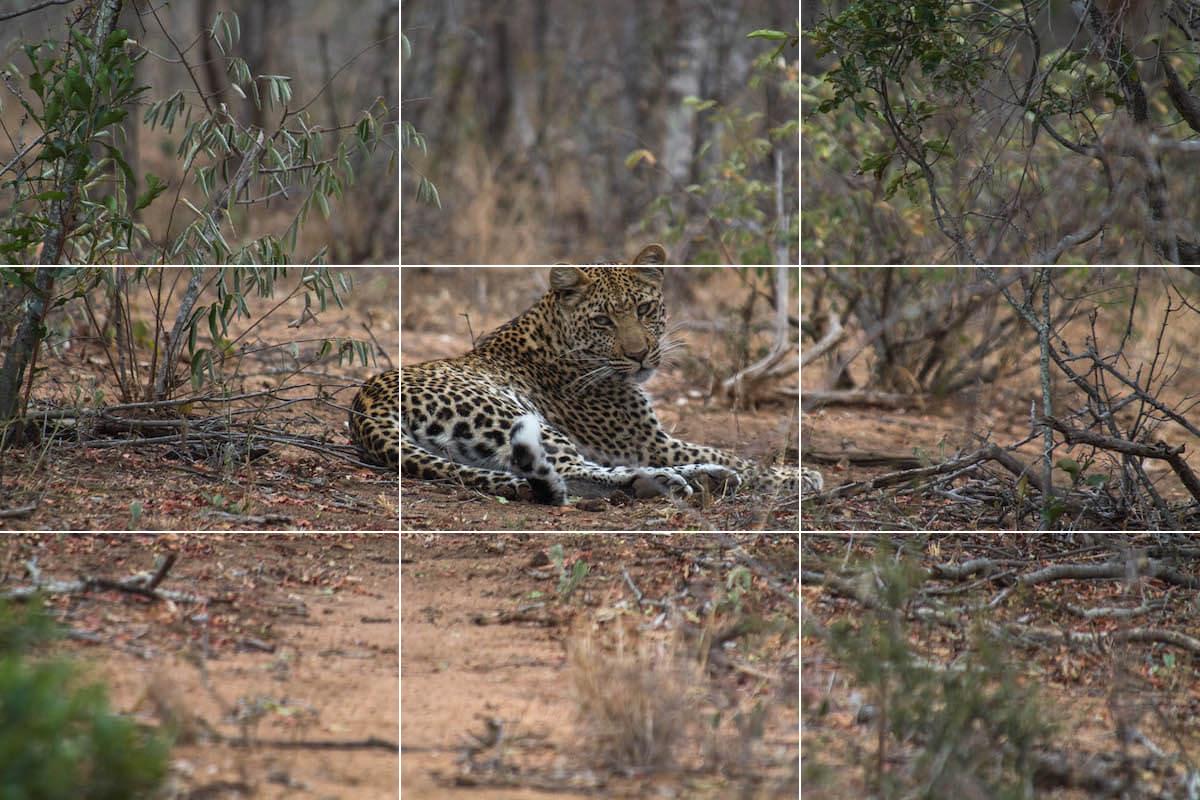
One good trick to check if your picture is sharp enough is to zoom in on the whiskers of the animals – if they are blurry, your picture still needs a higher shutter speed. In order to increase your shutter speed you will have to use a higher ISO when light is not abundant.
2. Be at eye-level with the animals
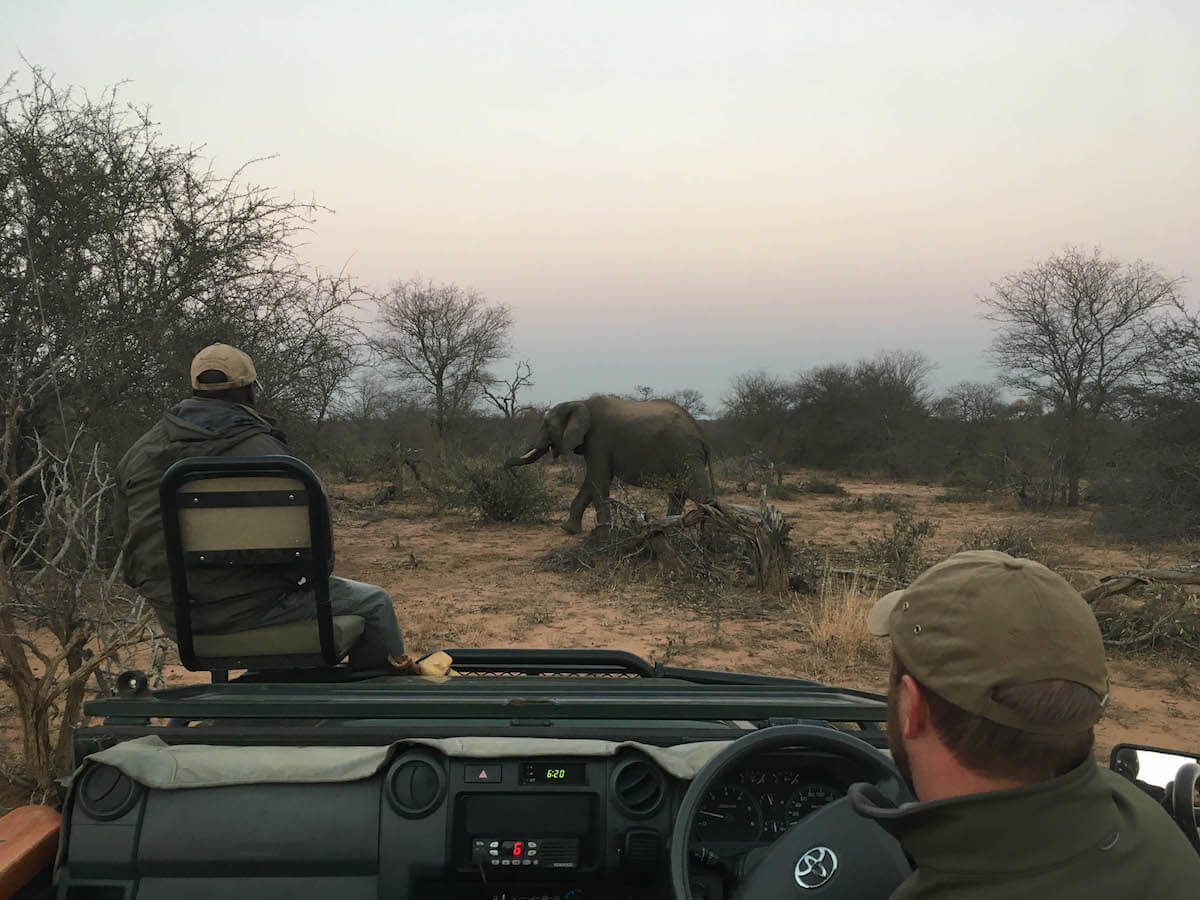
Trying to position yourself at the same level as your animal will create more meaningful pictures that evoke deeper feelings. By staring at the animal at eye level the sense of knowledge is transmitted into the photography – making it feel like you belong. When you take pictures from an open 4×4 vehicle or a minivan, your pictures will look like this:
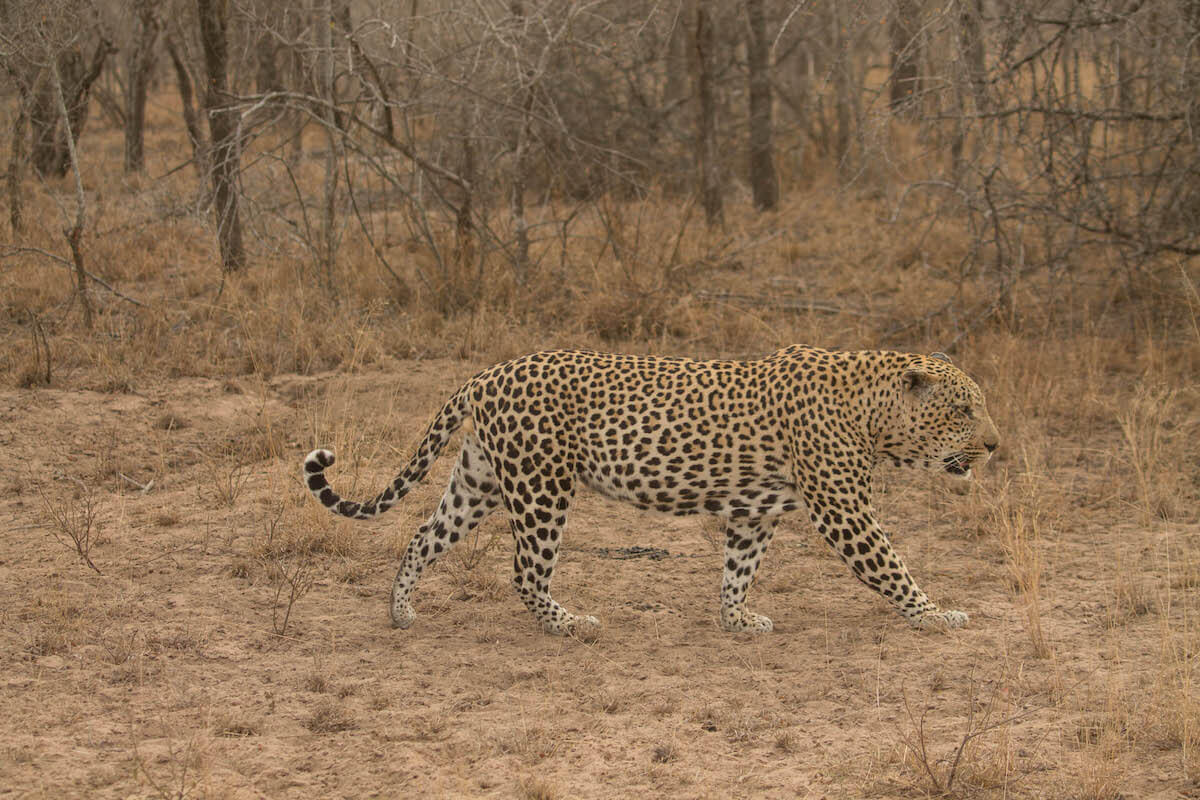
You want to try to make them look like this:
As it gives the image more realism and the person viewing the image will feel more aligned with what you are showing and connect with the photo more.
It is hard to get eye-level with some small animals like predators, but doing your best to gain some centimeters will improve your pictures. Here’s a list of animals you can find in Africa, tick it off as you see them!
3. Listen to your guide
In a perfect world, we would have many days and weeks to spend in the bush, learning the animal behaviour ourselves. But in case you (like me and many others) are only going on safari as a holiday – listen to your guide, they have been in the bush for far longer than you and can tell you beforehand when something is about to happen. Guides know everything about animal behaviour.
That means that if a lion is moving his ears a certain way he is about to yawn. If you pay attention to the information your guide and tracker give you, you can be ready to shoot when ephemeral moments like yawns happen.
WANT TO GO?: Staying at nThambo Tree houses in Kruger National Park, South Africa
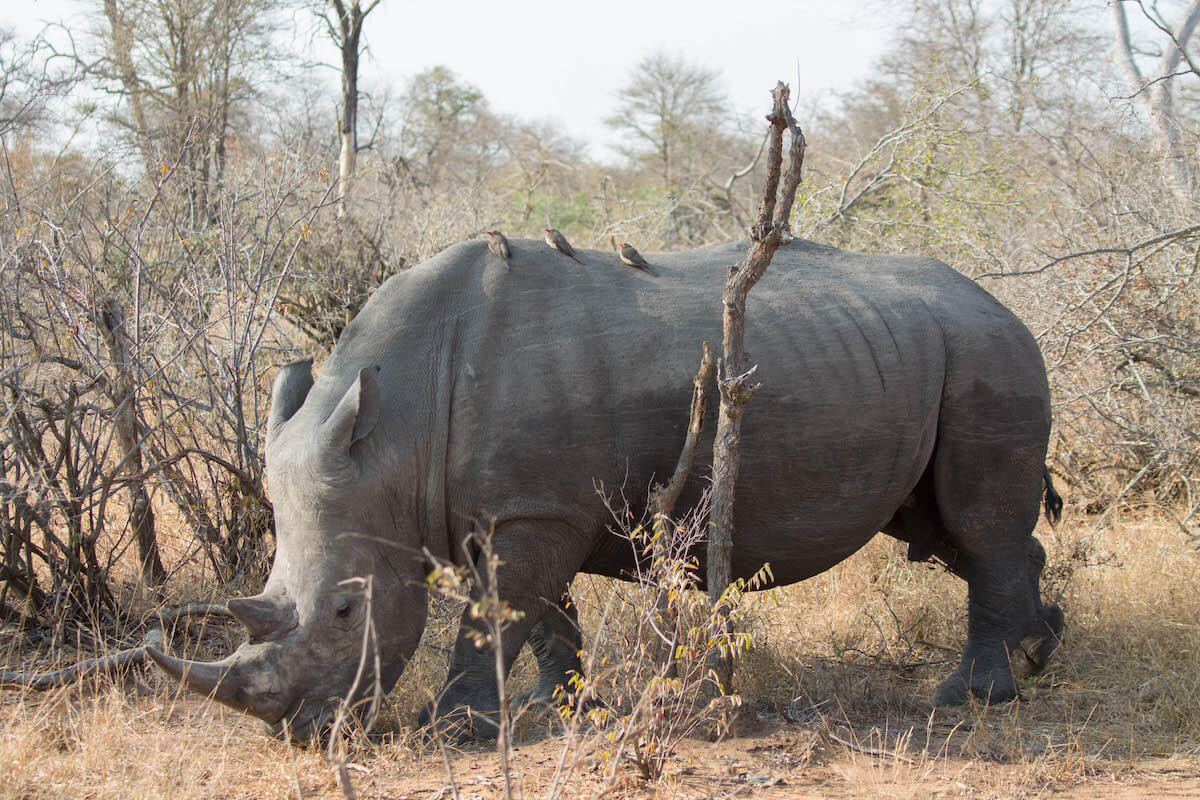
4. Pay attention to composition and framing
We all have seen the annoying grid on our cameras or phones. Although it might not be great when we are not used to it, because we can only see the grid’s lines, it is best to keep it on to always see how our shot is going to look. There are a number of rules for a good composition. Each of them has something to offer, but the most generally accepted is the rule of thirds.
This rule states that everything you want the eye to pay attention to should be in the intersection of the four lines.
Being at the right place for the right picture makes a big difference. Framing your animal in the right area of your picture changes the story dramatically. A shot can change a lot if taken one step to the left or crouched slightly down. Explore the different angles and frame your subject with the elements around it (trees, other animals, flowers, etc)
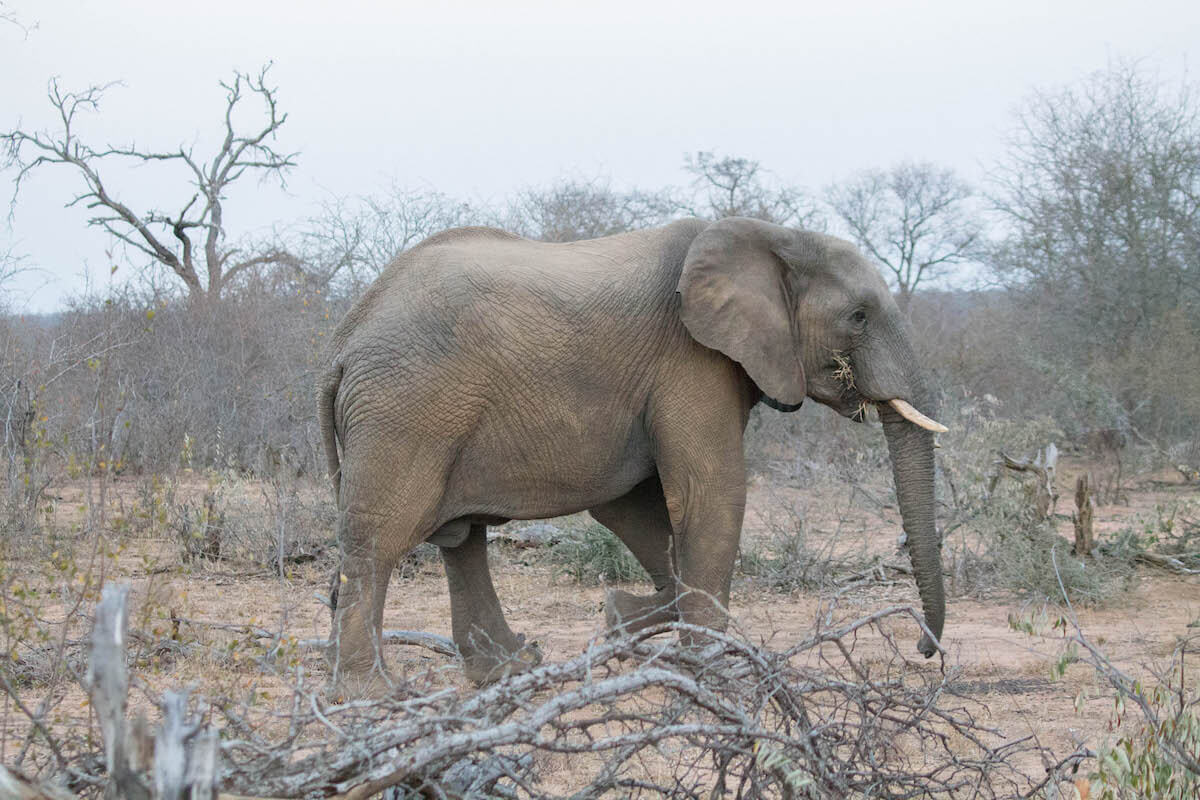
5. Check where the light is coming from
I have heard all my life that you must shoot with the sun behind you, so it lights up your subject. But this would also mean you miss tones and shapes as the object is perfectly lit, giving it a “real estate advertisement” look. If you have the chance to position yourself so that the light comes from one side of the sighting, do it.
Another good option is to move halfway between the subject, the sun and your position. Imagine the sun is at 12 on a clock. Your subject is at 6. Shoot from 1:30 and 10:30 to accomplish a bit of both worlds, light from the front and shadows. It allows for flattering light in the background and landscape and focuses your subject.
Another difficult option is to use the first light or last rays of sun, to cover your subject. It creates a dreamy look of the animal and the background. The sun must be covered by the animal/s you are photographing.
6. Respect your subject
It is very important than while you take your photos that no harm or distress comes to the animal. Be careful when trying to accomplosh great shots – never put your life or the animal’s life at risk for a great/better shot.
Another good option is to move halfway between the subject, the sun and your position. Imagine the sun is at 12 on a clock. Your subject is at 6. Shoot from 1:30 and 10:30 to accomplish a bit of both worlds, light from the front and shadows. It allows for flattering light in the background and landscape and focuses your subject.
Another difficult option is to use the first light or last rays of sun, to cover your subject. It creates a dreamy look of the animal and the background. The sun must be covered by the animal/s you are photographing.
Have you taken notes of these wildlife photography tips for amateurs? What other easy tips helped you take great pictures of animals?

I hope these tips will help you to become a good wildlife photographer but if you still need a few more tips and guidelines to become a great wildlife photographer, you can also check out Pixpa detailed article on Wildlife Photography.


Whatever wildlife photography is both rewarding and frustrating, even for experienced photographers. The challenges of wildlife photography can leave beginners feeling a little lost.
Hi Elina,
I agree! It is challenging but also rewarding when you get it right 🙂
Thank,
Anna