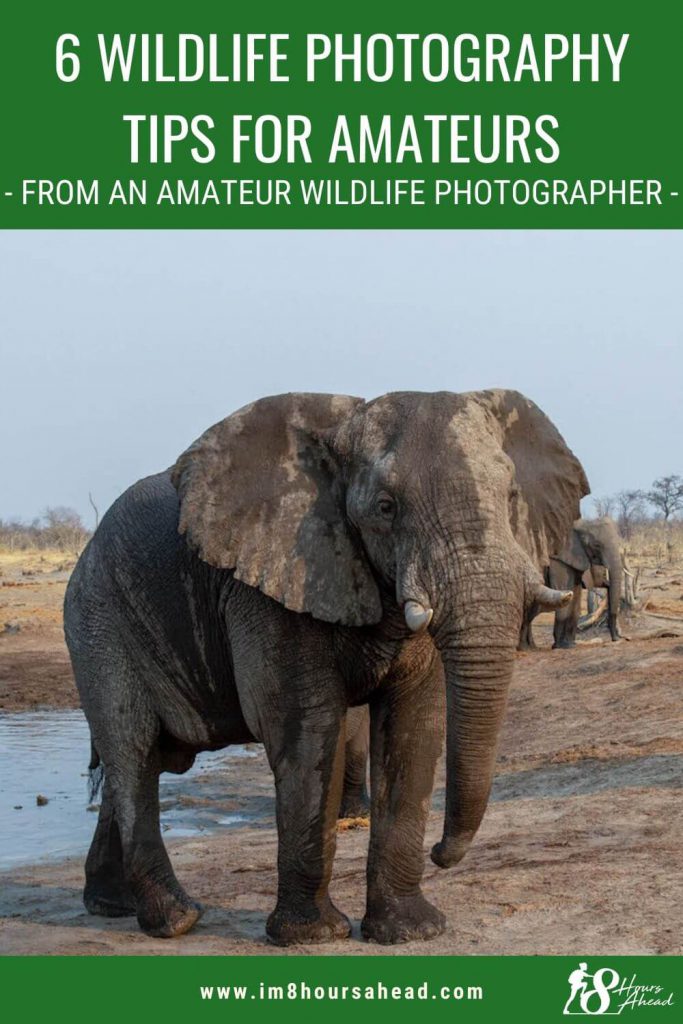
Going on safari is one of those bucket list items for most of us. Personally, my safari experiences are some of my most cherished ones. Driving through the bush and watching animals as they go about their business and being able to just sit there and enjoy the view.
I like to enjoy the moment while I’m there, that is always my number one priority. But lately I’ve found a new hobby: photographing wildlife. As an amateur photographer, trying to capture moving animals and learning how to use my camera so that in low light conditions, with moving subjects, my pictures still came out sharp; proved difficult.
This is my list of wildlife shooting tips – written by a totally amateur wildlife photographer. I’ve learned these through experience and talking to rangers and guides – they sure know how to use a good camera well.
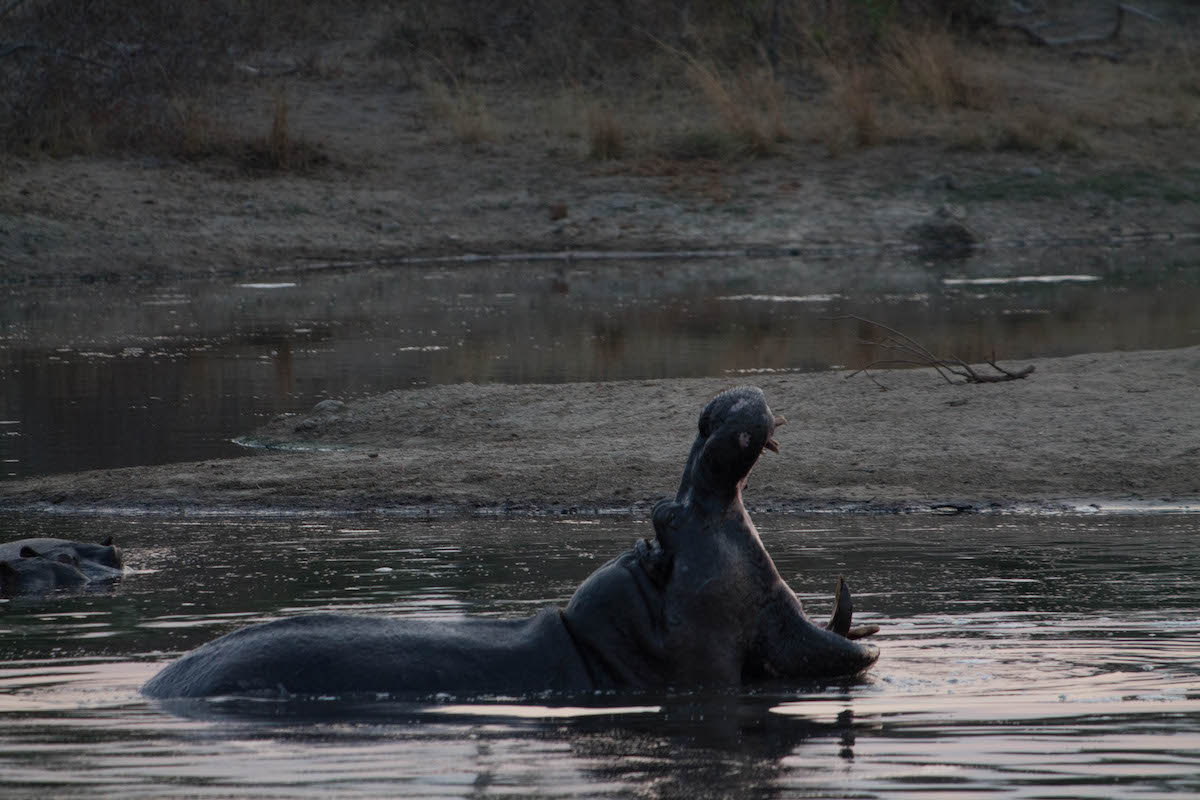
When taking pictures of moving animals in low light conditions (during dawn and dusk) you will need to increase the shutter speed to get sharp pictures. The shutter speed priority mode (usually shown as Tv mode) will allow you to give the shutter enough speed to capture a still moving object.
The idea behind it is that the shutter speed needs to be quicker than the movement. The quicker the movement (let’s say an animal running) the higher (let’s say 1/2000 for example) you will need your shutter speed to be.
One good trick to check if your picture is sharp enough is to zoom in on the whiskers of the animals – if they are blurry, your picture still needs a higher shutter speed. In order to increase your shutter speed you will have to use a higher ISO when light is not abundant.
2. Be at eye-level with the animals
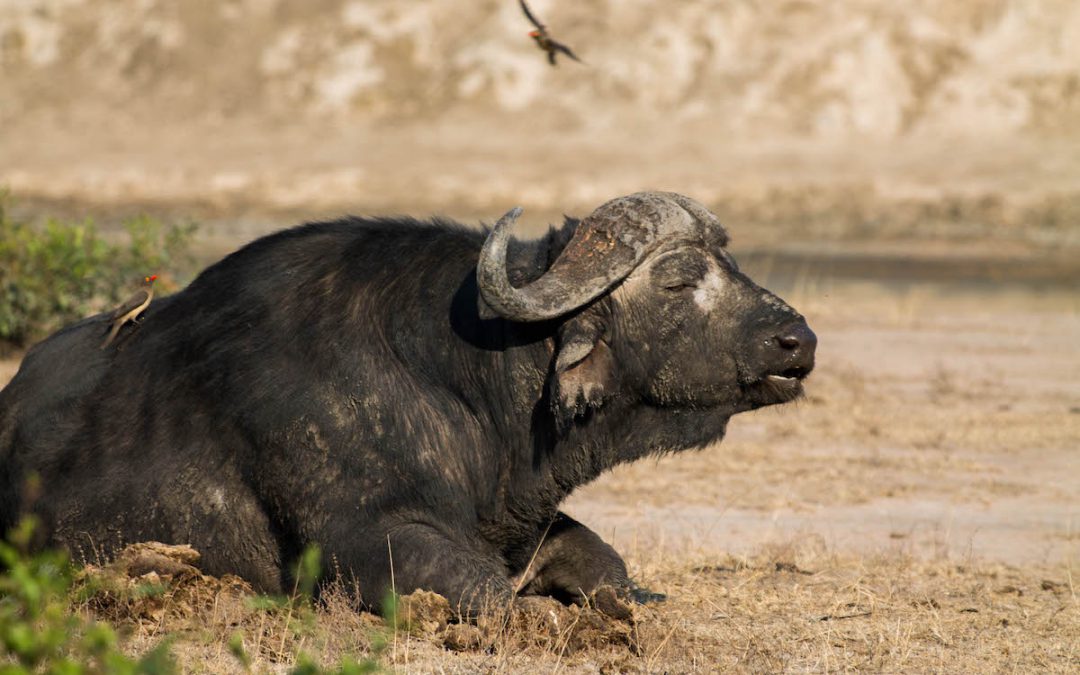
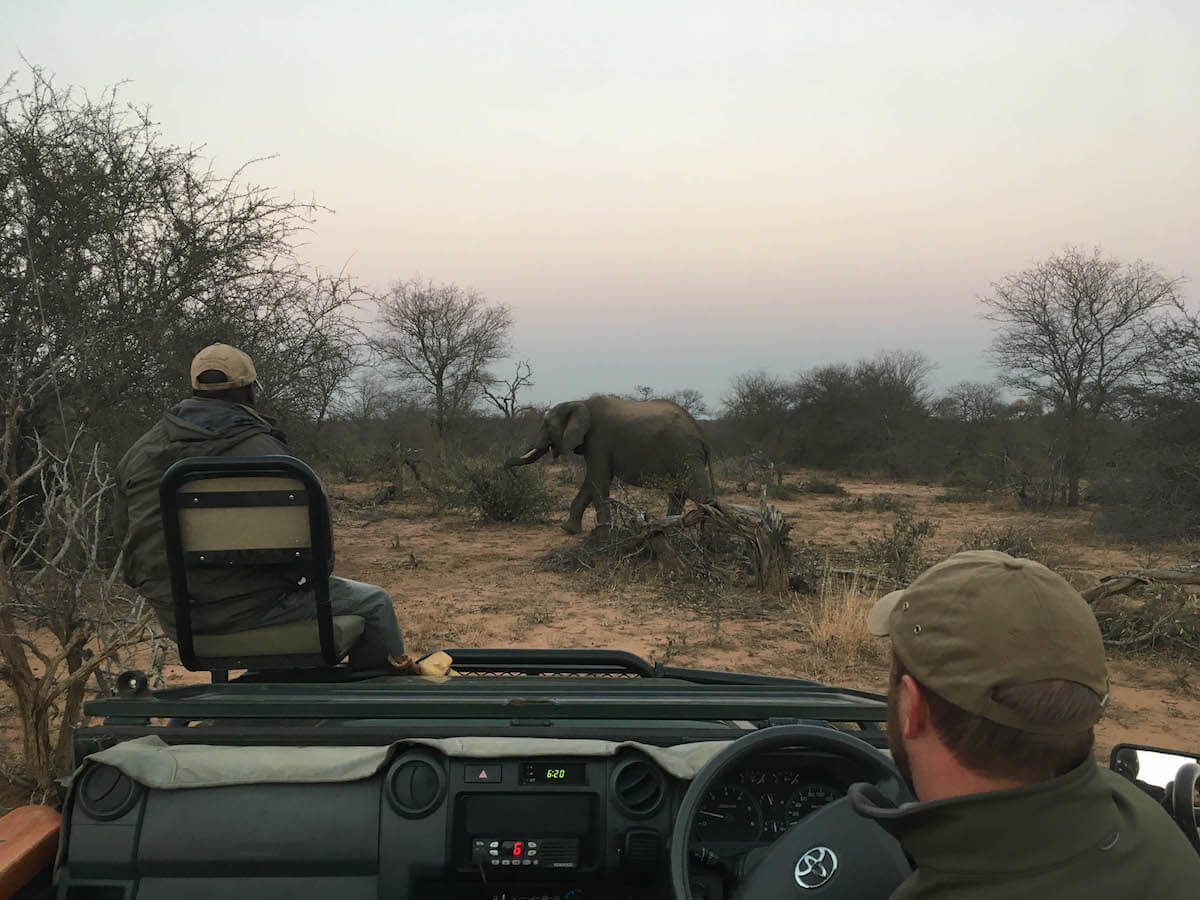
Trying to position yourself at the same level as your animal will create more meaningful pictures that evoke deeper feelings. By staring at the animal at eye level the sense of knowledge is transmitted into the photography – making it feel like you belong.When you take pictures from an open 4×4 vehicle or a minivan, your pictures will look like this:
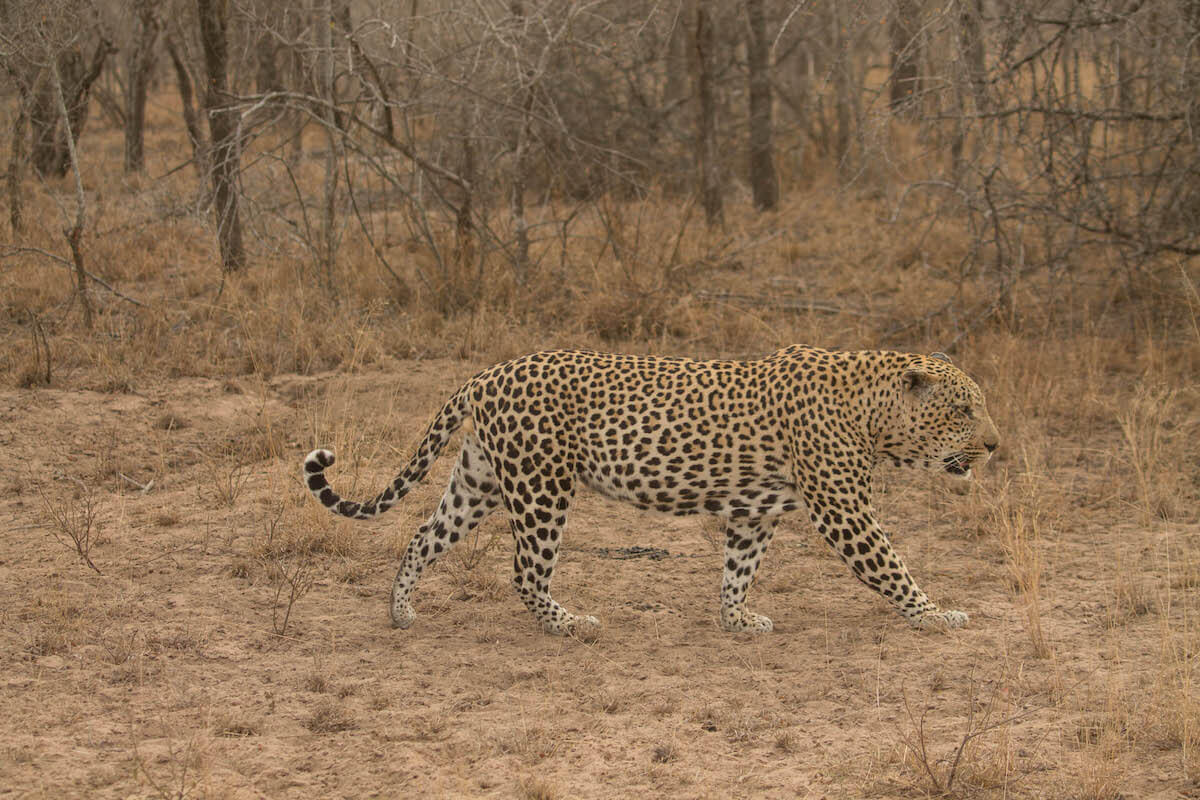
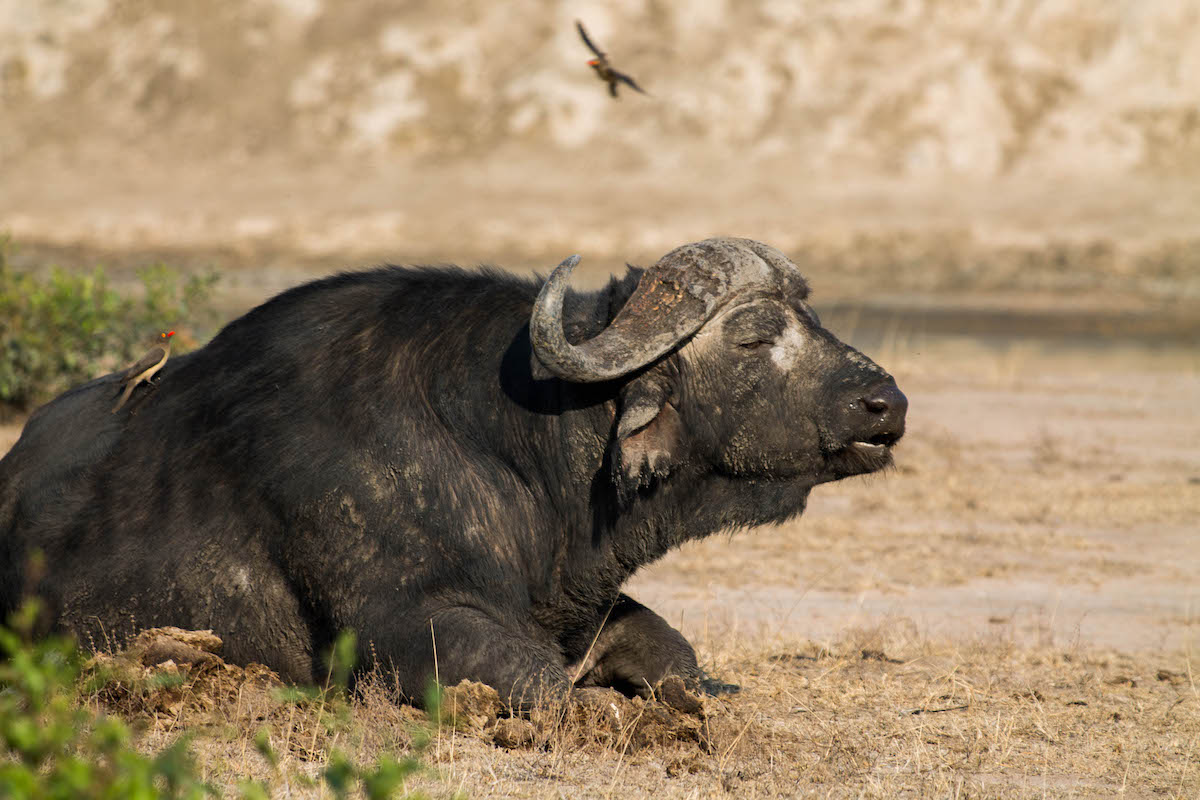
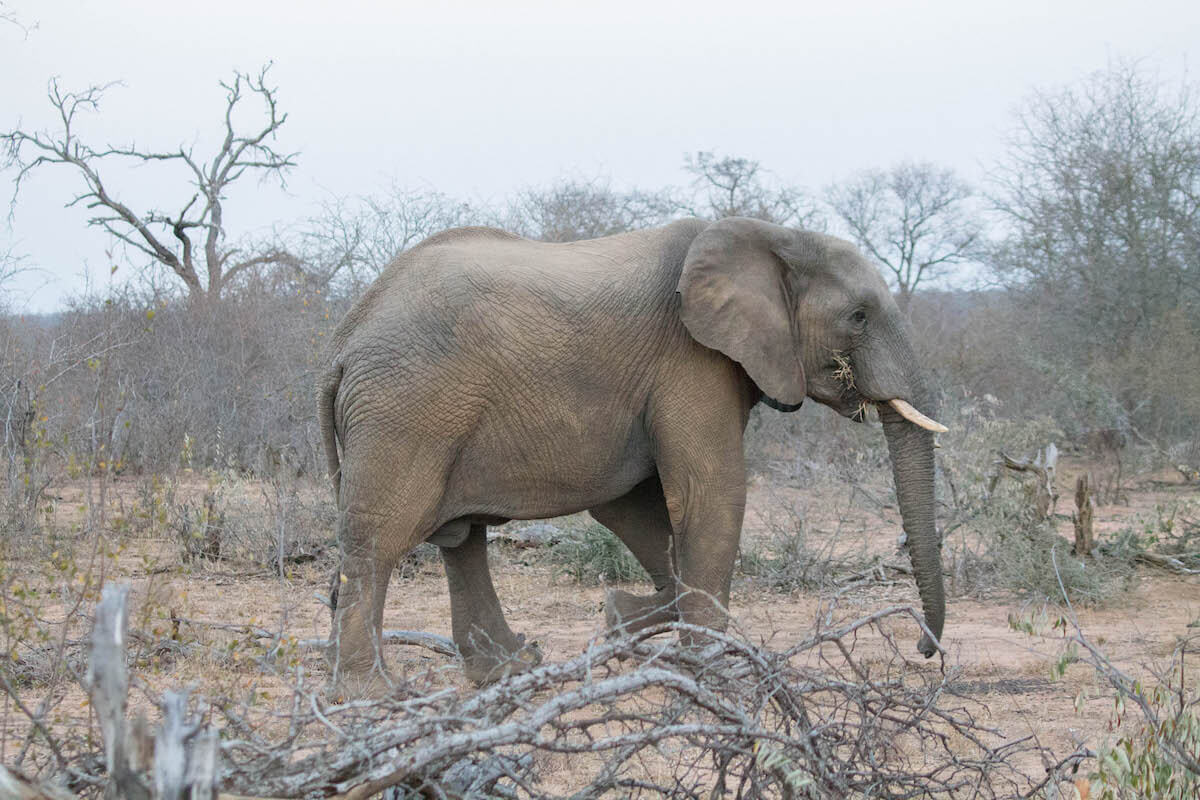
You want to try to make them look like this:
As it gives the image more realism and the person viewing the image will feel more aligned with what you are showing and connect with the photo more.
It is hard to get eye-level with some small animals like predators, but doing your best to gain some centimeters will improve your pictures. Here’s a list of animals you can find in Africa, tick it off as you see them!
3. Listen to your guide
In a perfect world, we would have many days and weeks to spend in the bush, learning the animal behaviour ourselves. But in case you (like me and many others) are only going on safari as a holiday – listen to your guide, they have been in the bush for far longer than you and can tell you beforehand when something is about to happen. Guides know everything about animal behaviour.
That means that if a lion is moving his ears a certain way he is about to yawn. If you pay attention to the information your guide and tracker give you, you can be ready to shoot when ephemeral moments like yawns happen.
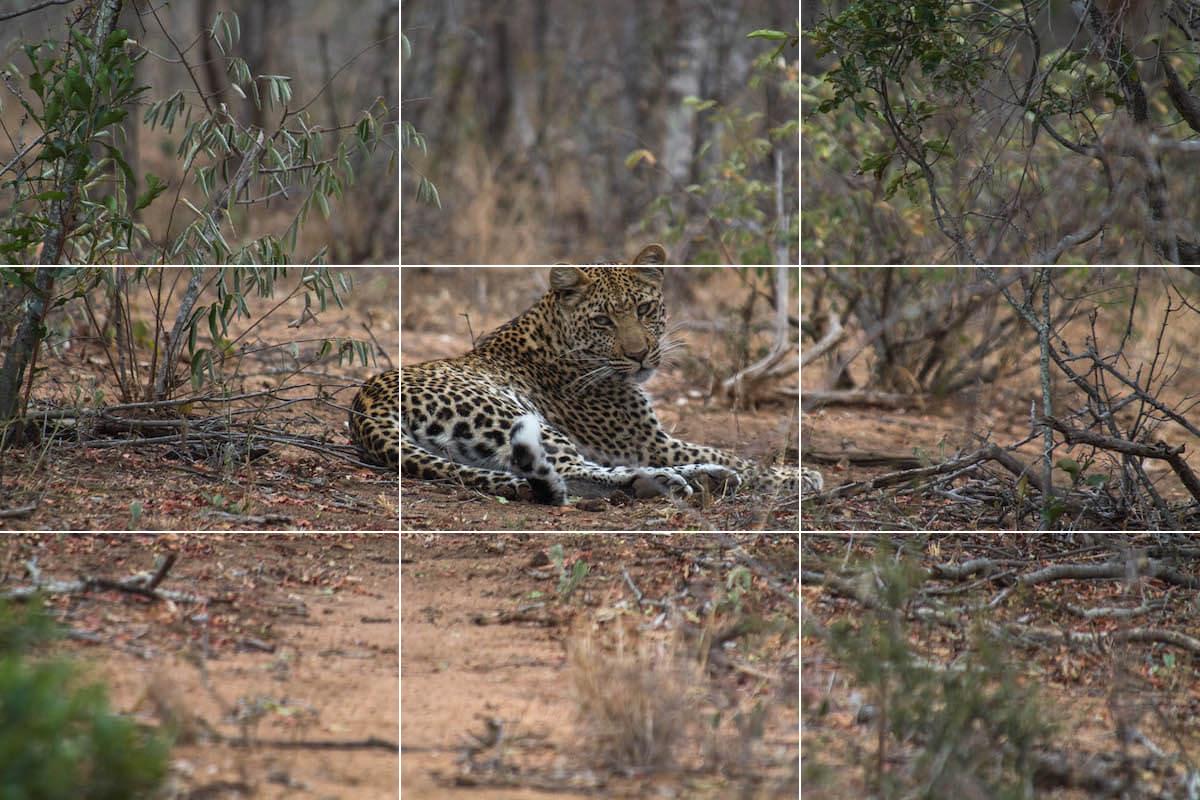
We all have seen the annoying grid on our cameras or phones. Although it might not be great when we are not used to it, because we can only see the grid’s lines, it is best to keep it on to always see how our shot is going to look. There are a number of rules for a good composition. Each of them has something to offer, but the most generally accepted is the rule of thirds.
This rule states that everything you want the eye to pay attention to should be in the intersection of the four lines.
Being at the right place for the right picture makes a big difference. Framing your animal in the right area of your picture changes the story dramatically. A shot can change a lot if taken one step to the left or crouched slightly down. Explore the different angles and frame your subject with the elements around it (trees, other animals, flowers, etc)
5. Check where the light is coming from
I have heard all my life that you must shoot with the sun behind you, so it lights up your subject. But this would also mean you miss tones and shapes as the object is perfectly lit, giving it a “real estate advertisement” look. If you have the chance to position yourself so that the light comes from one side of the sighting, do it.
Another good option is to move halfway between the subject, the sun and your position. Imagine the sun is at 12 on a clock. Your subject is at 6. Shoot from 1:30 and 10:30 to accomplish a bit of both worlds, light from the front and shadows. It allows for flattering light in the background and landscape and focuses your subject.
Another difficult option is to use the first light or last rays of sun, to cover your subject. It creates a dreamy look of the animal and the background. The sun must be covered by the animal/s you are photographing.
6. Respect your subject
It is very important than while you take your photos that no harm or distress comes to the animal. Be careful when trying to accomplosh great shots – never put your life or the animal’s life at risk for a great/better shot.
Another good option is to move halfway between the subject, the sun and your position. Imagine the sun is at 12 on a clock. Your subject is at 6. Shoot from 1:30 and 10:30 to accomplish a bit of both worlds, light from the front and shadows. It allows for flattering light in the background and landscape and focuses your subject.
Another difficult option is to use the first light or last rays of sun, to cover your subject. It creates a dreamy look of the animal and the background. The sun must be covered by the animal/s you are photographing.
Have you taken notes of these wildlife photography tips for amateurs? What other easy tips helped you take great pictures of animals?
I hope these tips will help you to become a good wildlife photographer but if you still need a few more tips and guidelines to become a great wildlife photographer, you can also check out Pixpa detailed article on Wildlife Photography.
Planning the details of your next trip is very important to you.
You like to keep a budget and to know where you can cut costs.
You want to have an overview of your entire trip in one document.
Well done! You’re in the right place. If you’re here, you are an obsessive travel planner like me and love to organise all the little details before you go off on your adventure. Maybe you’re here after some obsessive google keyword research and, like me, have checked many different websites to try and find the best travel planner to use. Well, YOU CAN STOP LOOKING NOW, you’ve found it!
I have been using a mix of word and excel for years to organise my trips and budget. When I started looking for a travel planner that had it all in one place, I couldn’t find anything! That’s what made me tidy up my own one and make it look pretty for all of you.
The only travel planner you will ever need
I gave my travel spreadsheet a makeover to make it practical, clear and to make sure it ticks all the boxes to be the best travel planner and the only one you’ll need. After all this is why the name of my travel spreadsheet is The Only Travel Planner You Will Ever Need.
What you will find in the travel spreadsheet:
Tab 1: Day to day over view & instructions for the spreadsheet
In this first tabl you will find the instructions to use the document (it’s not hard, don’t worry!). You can fill in the nams of all travellers and see an abstract of your day, day to day. It will help when you need to check quickly what’s the plan for day Y of the trip.
Tab 2: Accommodation
You can write down your accommodation addresses, the types of the rooms, the number of nights and all inclusions.
Tab 3: Transport
The tab for flights, transfers, buses or rental cars. Include your transport number and the arrival and departure cities as well.
Tab 4: Miscellaneous
All those travel costs that we struggle to remember like: insurance, how much does your bank charge you per transaction abroad and your visa costs. You won’t forget a thing!
Tab 5: Budget
When you are travelling with family, friends or your SO, understanding if someone owes you money is always complicated. Simply fill in the details for your costs and split the cost in percentages amongst you. The planner will then calculate the money you should pay in and the money you are owed! Life saving!
Why is The Only Travel Planner You Will Ever Need the best travel planner out there?
The best part is the only travel planner you will ever need is free. Yup, you got that right!
It has tabs for all different expenses
trip overview on the first tab
If you are in my subscriber’s list you’ll be able to access it from this month’s newsletter OR you can use this shiny box underneath to grab your free copy – you will not only gain instant access to the spreadsheet so you can start planning now, but you’ll get monthly newsletters with new content on the blog, including my best travel tips and tricks!
[im8_subscribe title=”Download The Only Travel Planner You Will Ever need here for FREE! ” subtitle=”You will also become part of the squad and get the monthly newsletter with travel tips to help you travel more!” button=”Don’t Wait Any Longer!”]
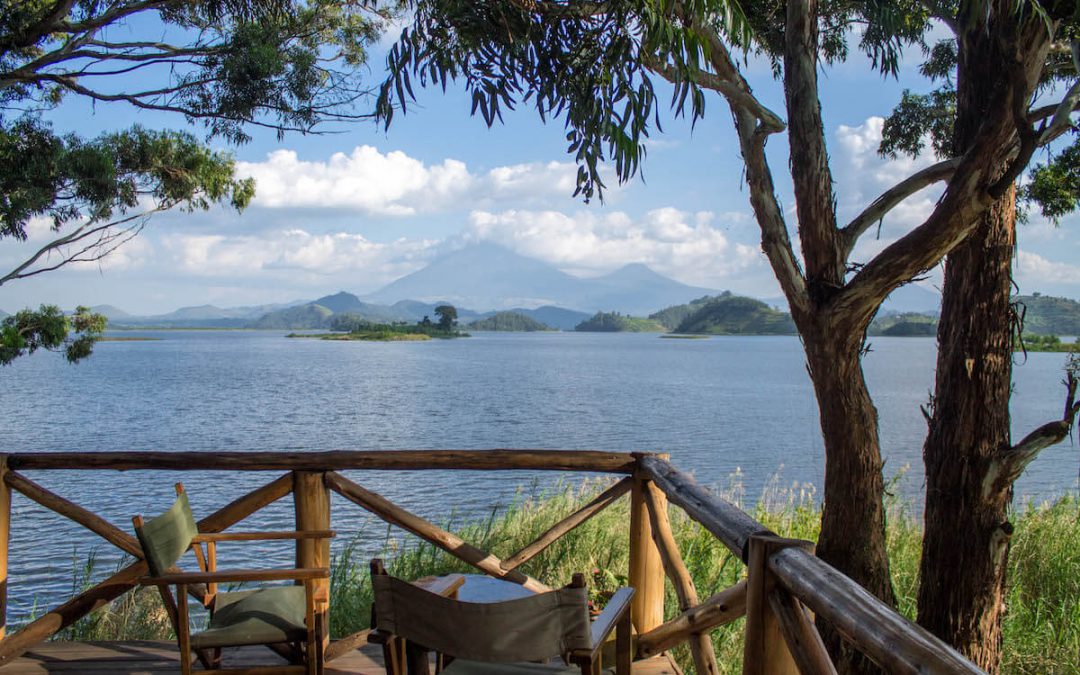
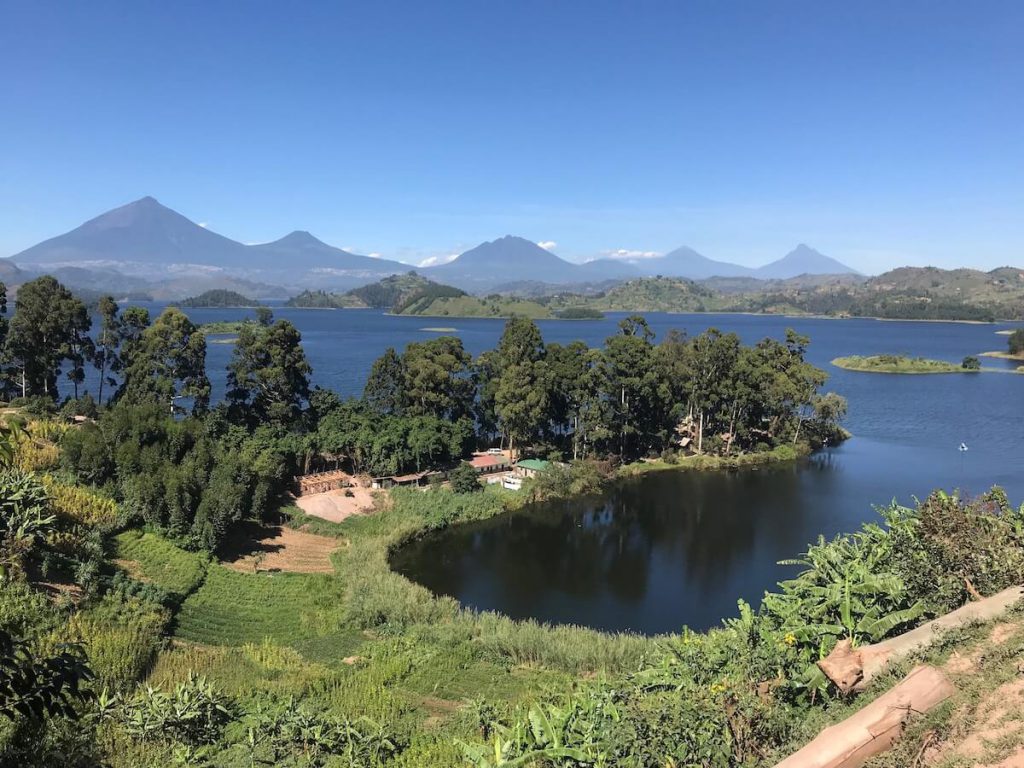
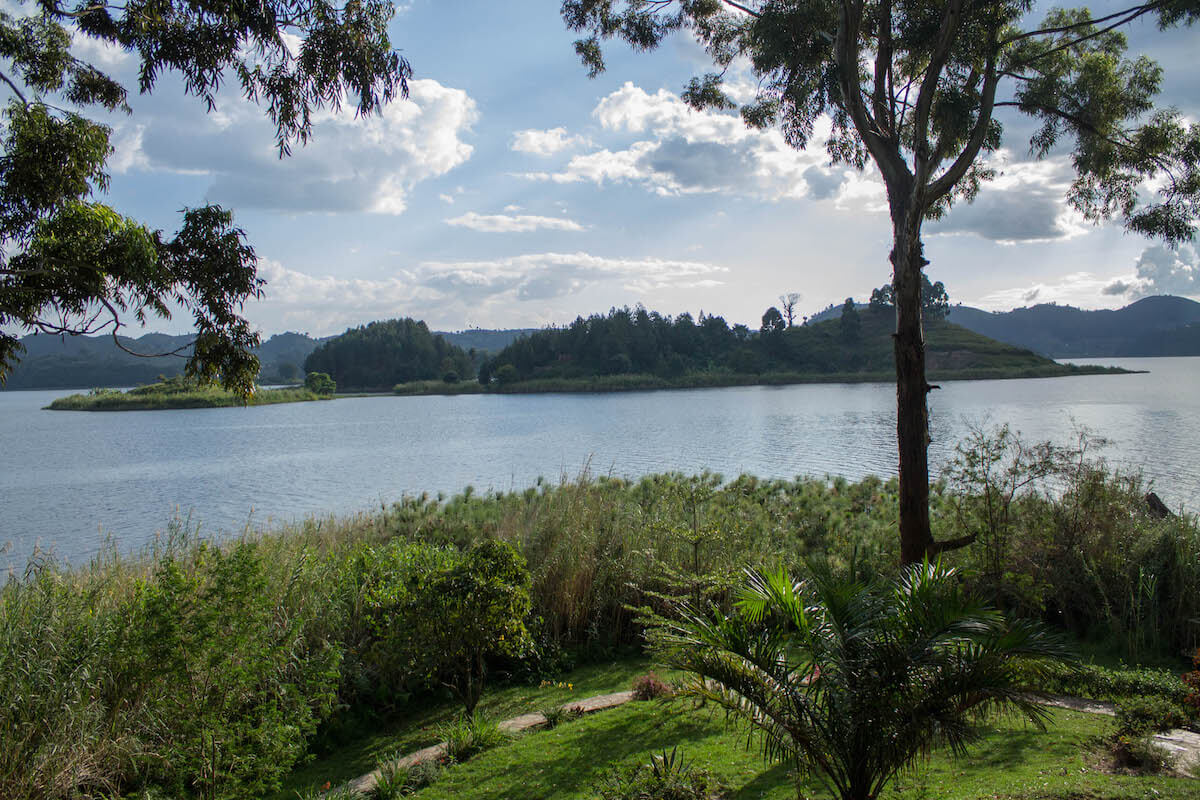
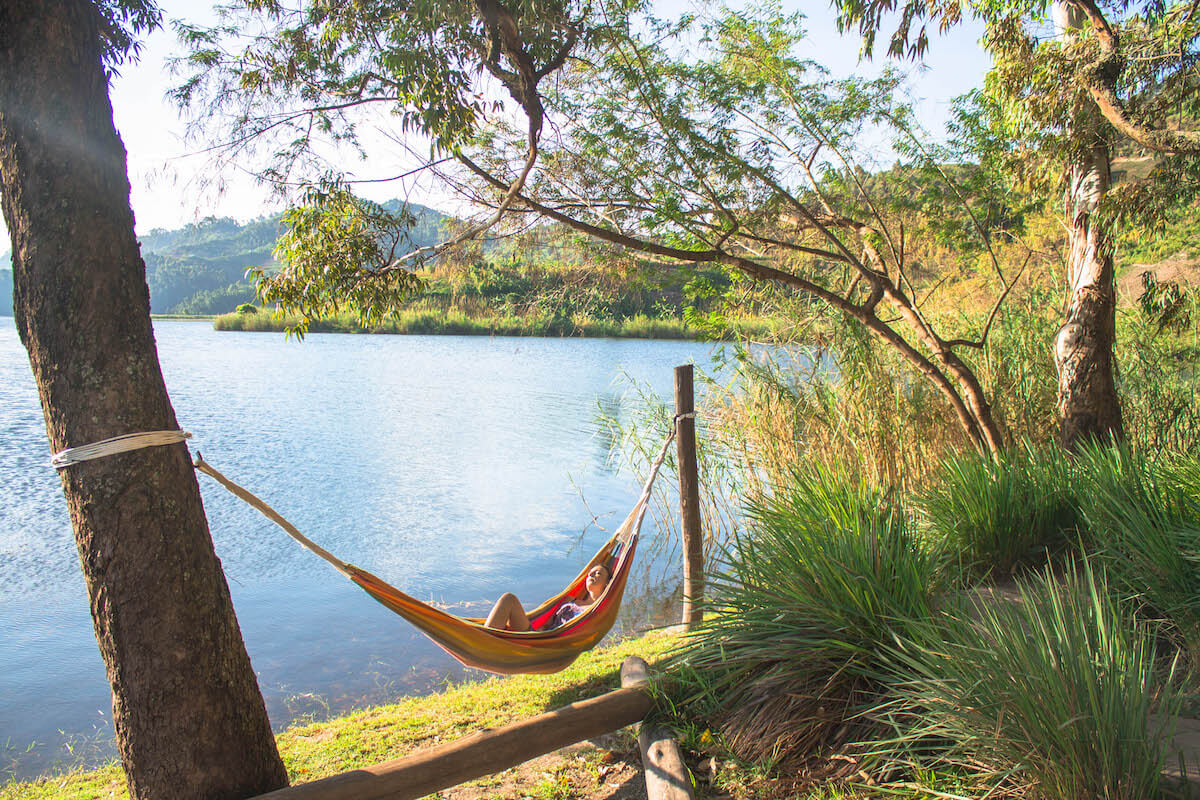
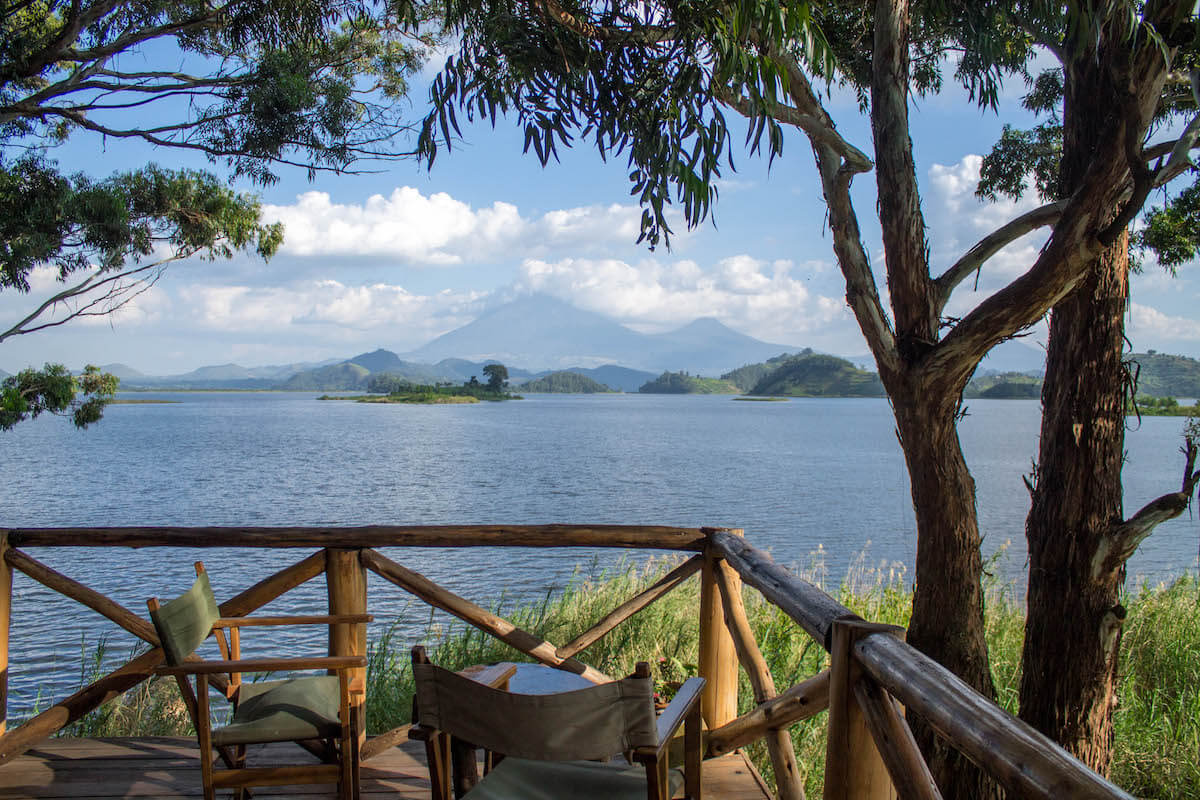
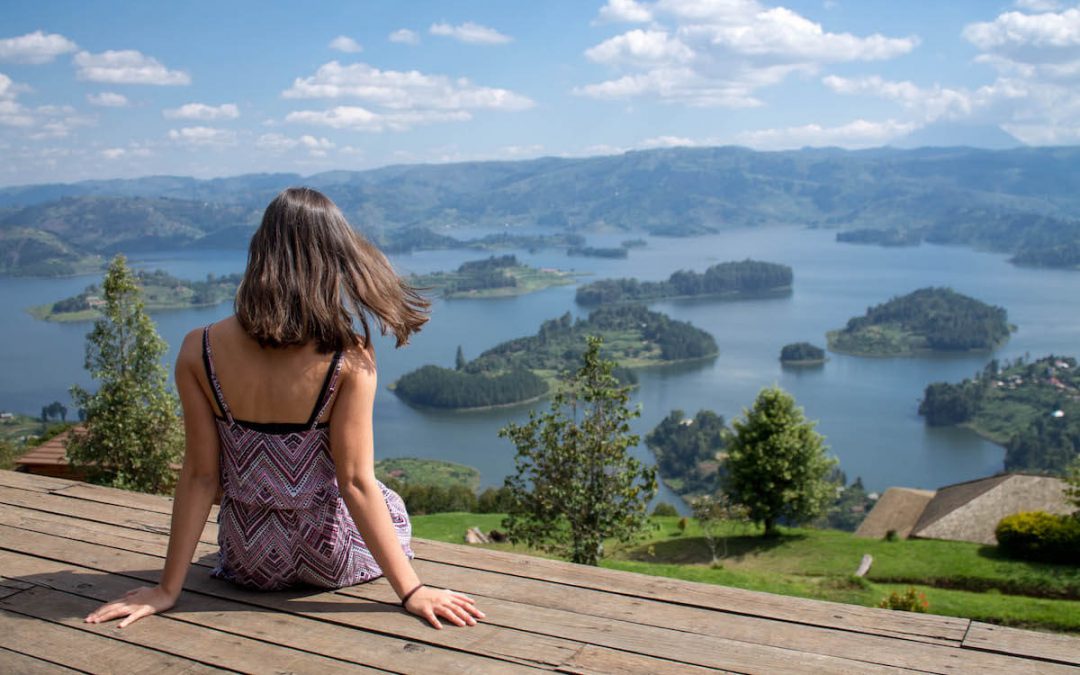
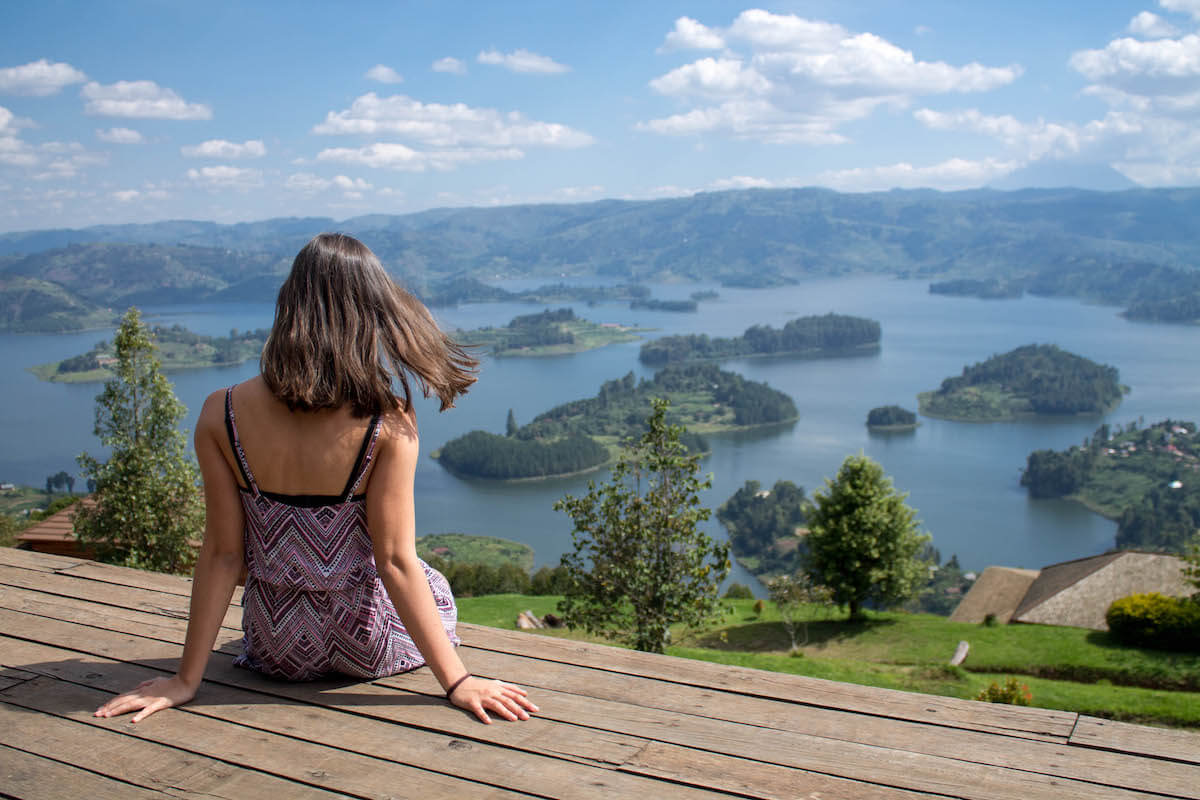
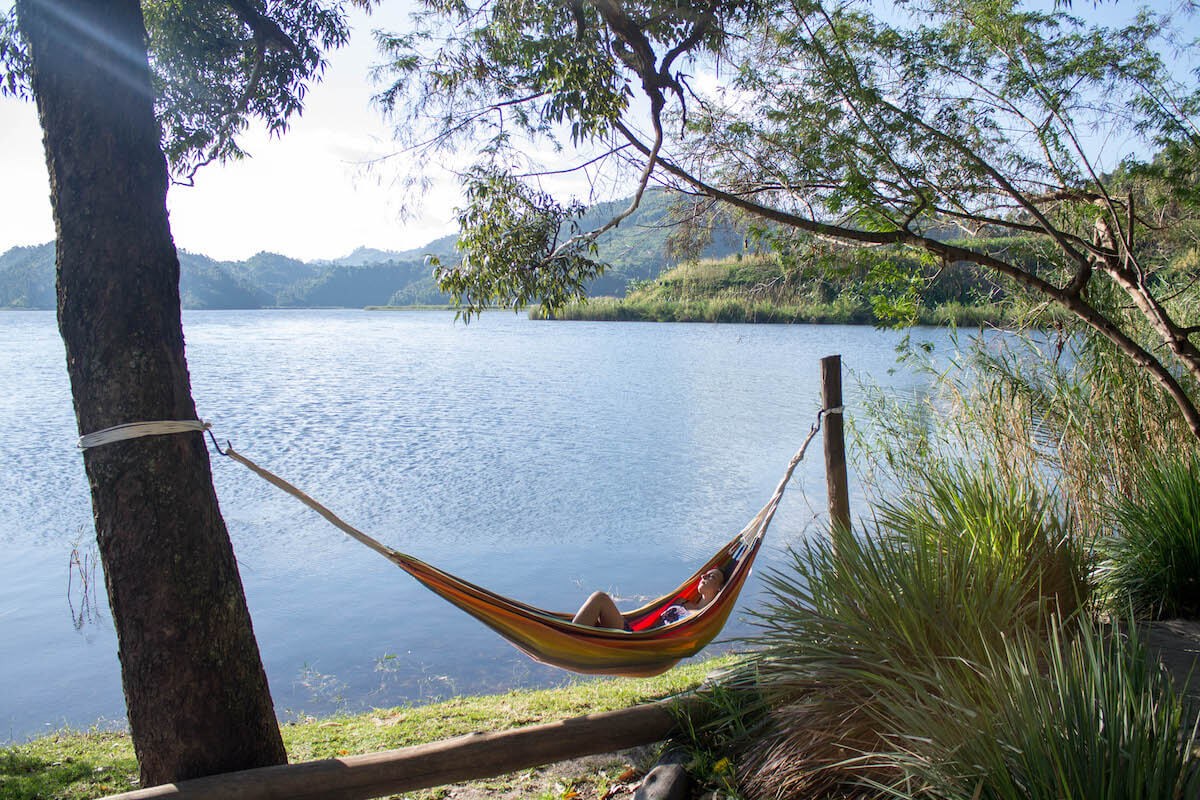
Like the name says, the resort is located on a peninsula in Lake Mutanda, in the South of Uganda, and offers views of the lake and the inner islands for days.
Quick facts:
Good for: families, couples, friends
Starting from: 185 USD per night (157,3€)
Location: lake Mutanda, Uganda
Arriving at Mutanda Lake Resort
From the main dusty road there is a turnoff to descend to the peninsula that Mutanda Lake Resort calls home. Upon parking a kind gentleman helped with the bags to reception and, after a painless check in and a refreshing fresh juice, we were shown to our cabin.
The cabins are in an inverted U shape with lush gardens on to the shores of the lake.
If ou are looking for a nice base for your South of Uganda leg of the trip and perfect base for gorilla tracking, Mutanda Lake resort is a good option. The lodge is more or less 45min from the Rushaga sector.
There is a big common area that looks like one of those Swiss ski chalets, also overlooking the lake. In the main common room you will find the bar and lounge area, the restaurant and the terrace.
Mutanda Lake resort rooms
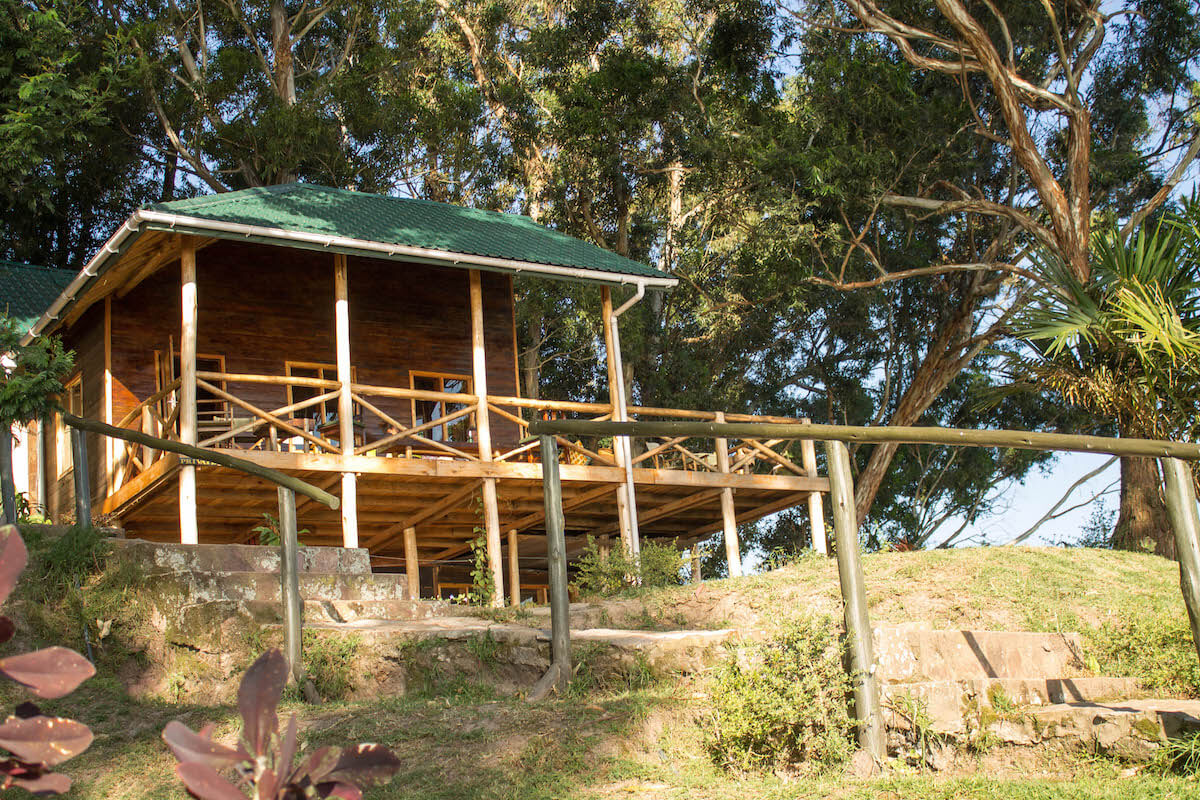
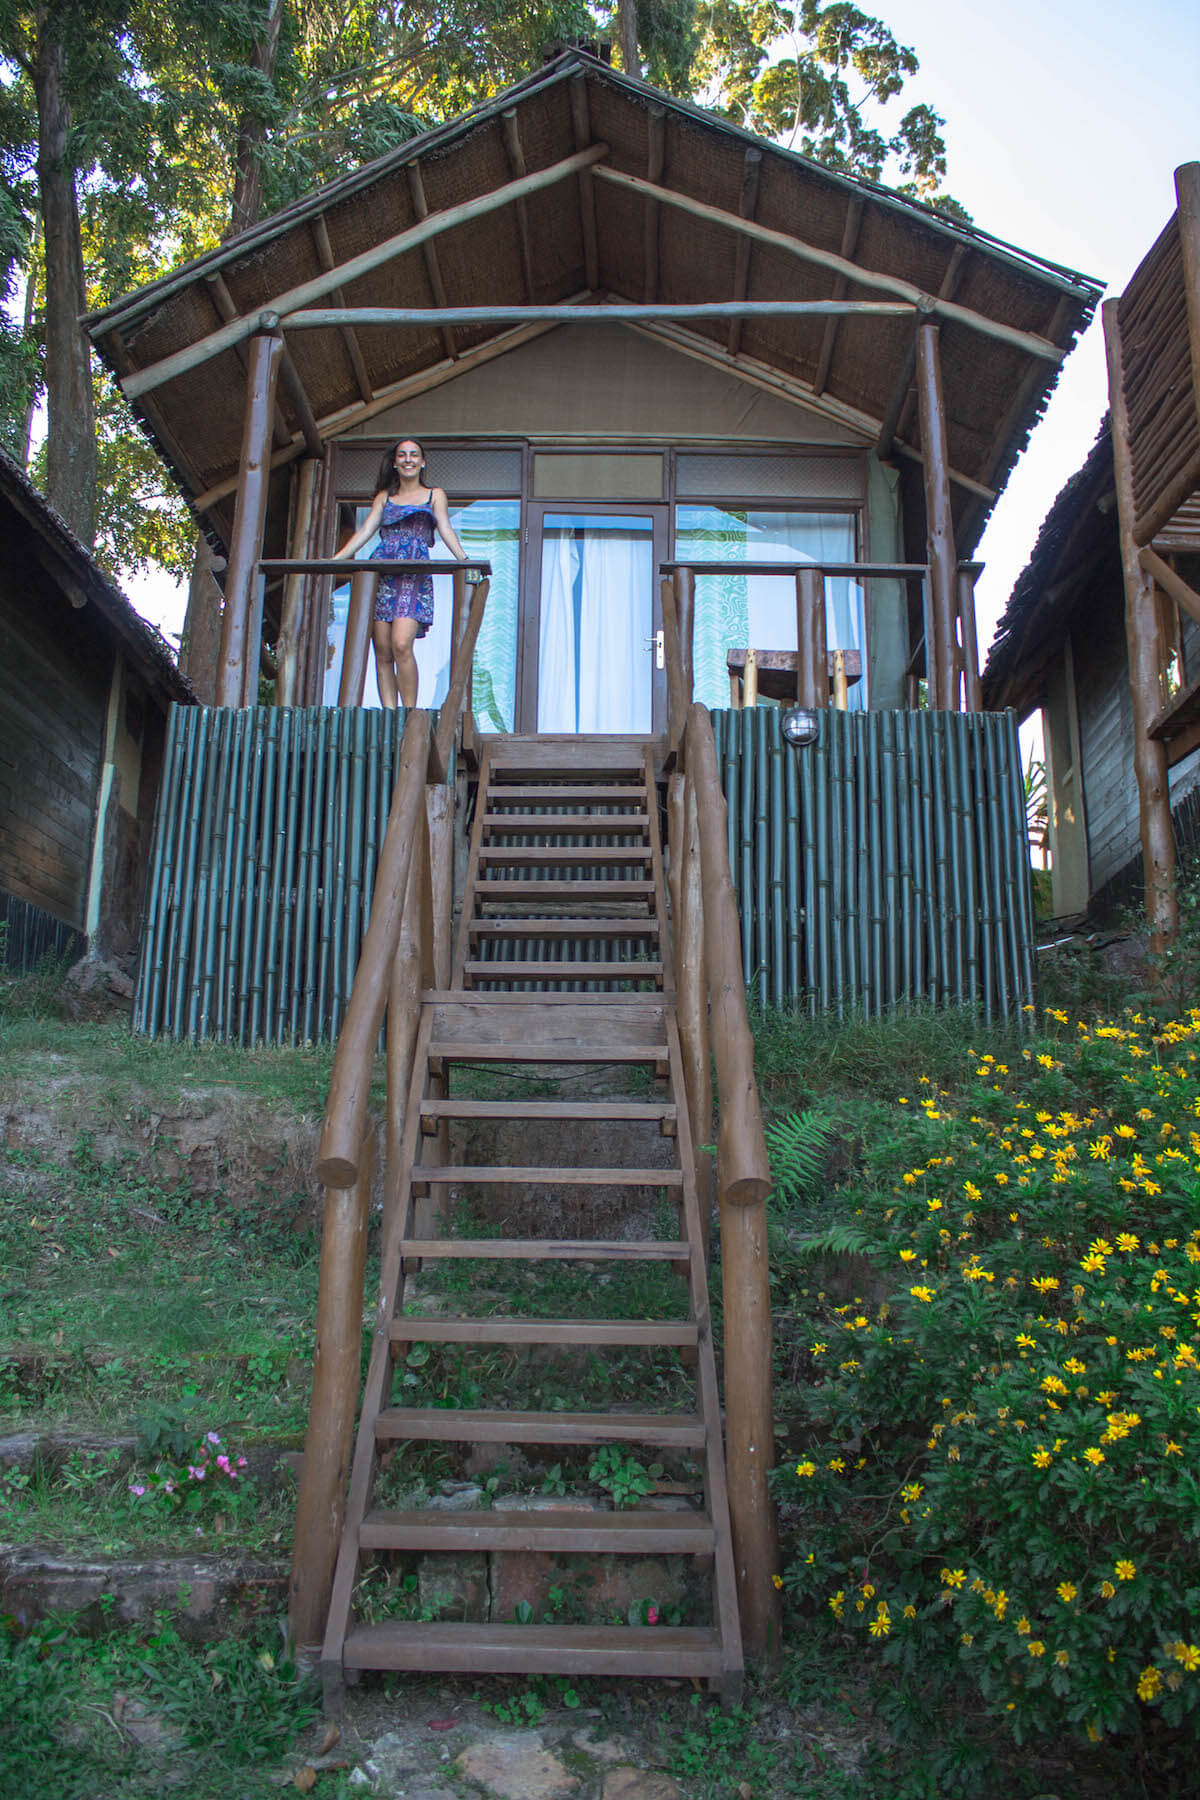
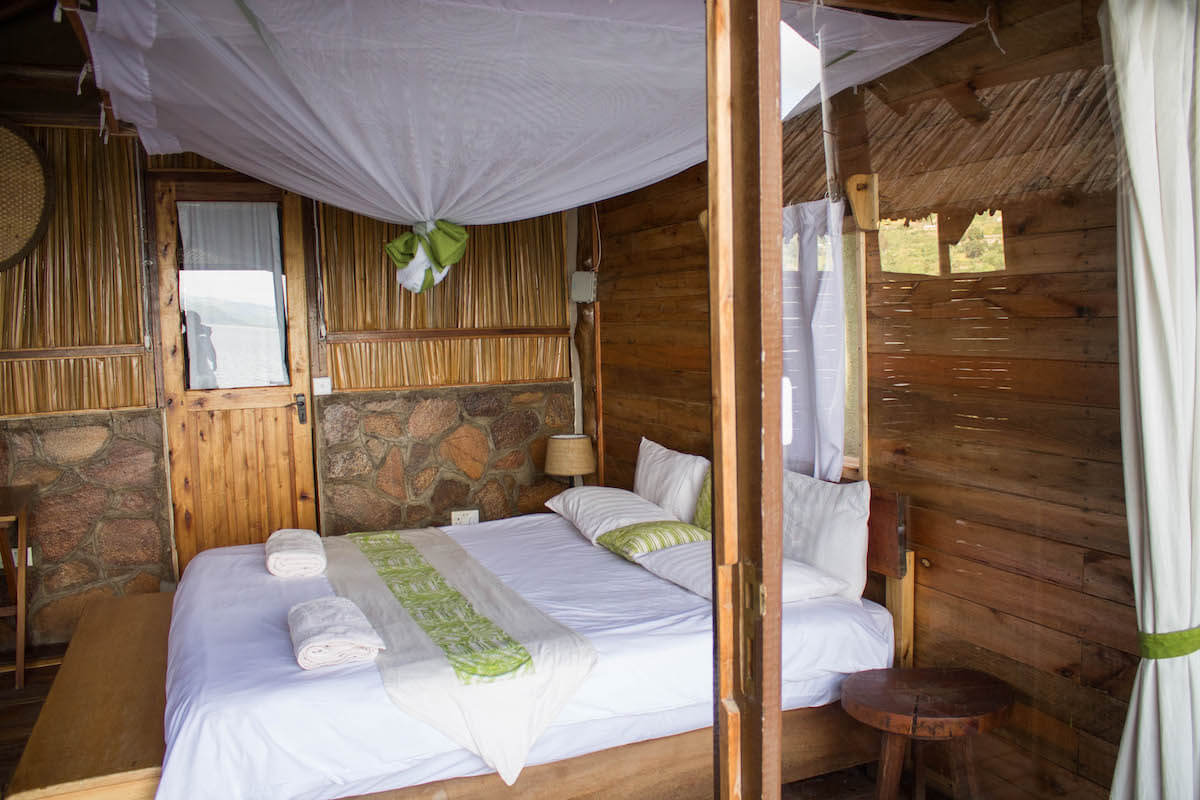
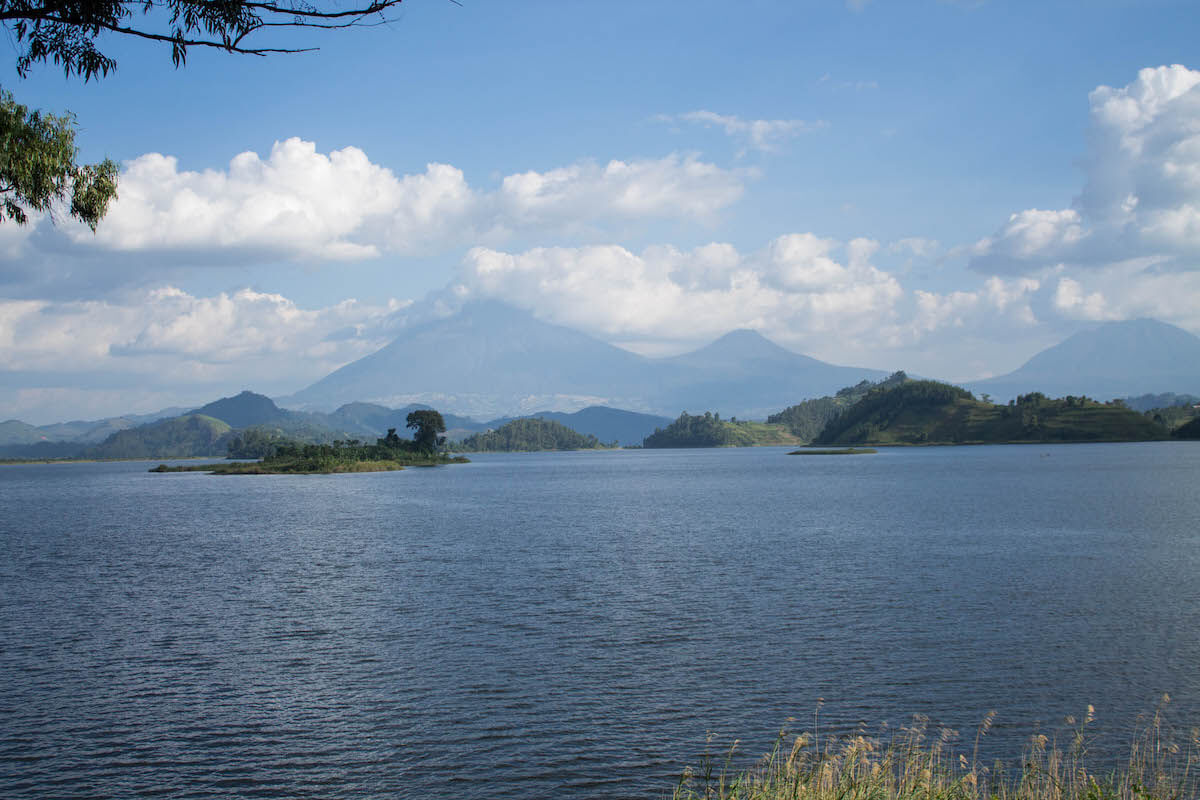
The cabins are along the exterior of the peninsula, overlooking the lake. We had a Virunga Volcanoes facing cabin – how lucky! They are quite close together, but the terraces have wooden walls, so you can’t see your neighbours from your terrace.
They are elevated on stairs and mostly made of wood.
The inside of the cabin features a mosquito net, double bed, cupboard, desk and two chairs. The bathroom is ensuite and has all commodities of modern life with warm water.
They all have a little terrace.
Lodge Activities
They have different available activities from the lodge, like community walks or sundowner cruises on the lake.
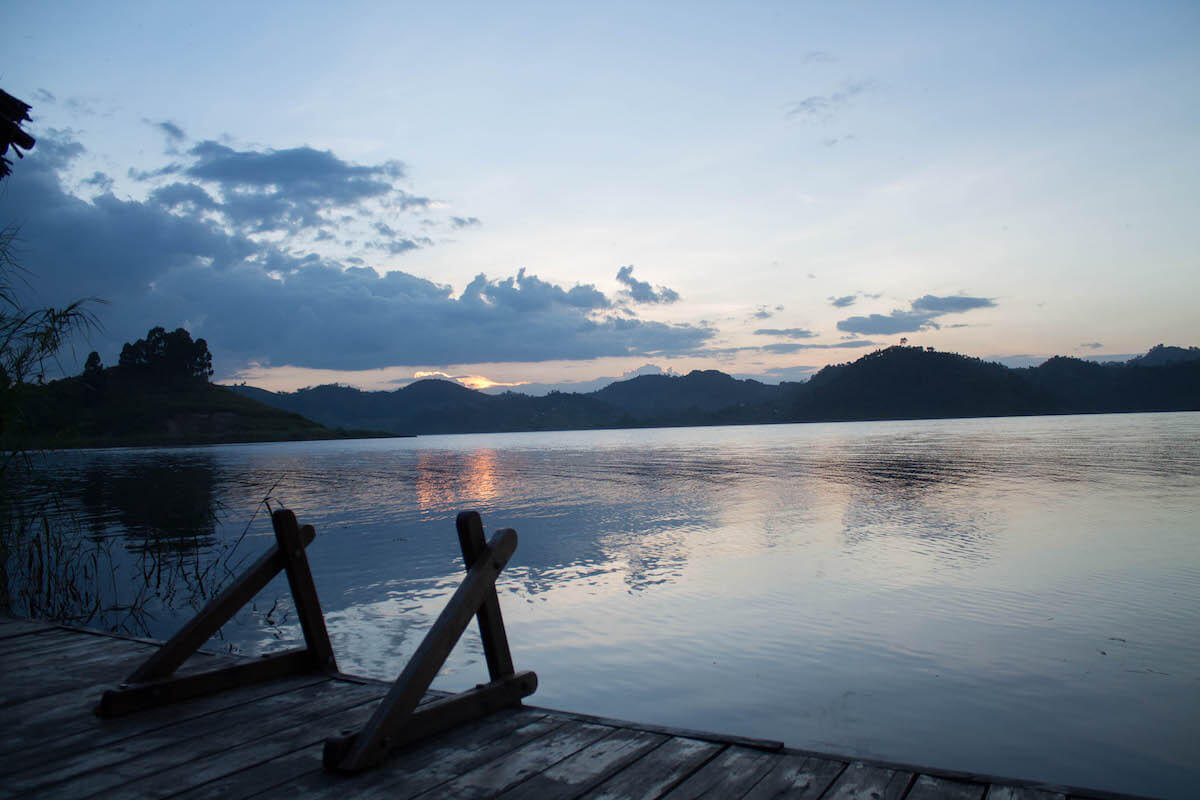
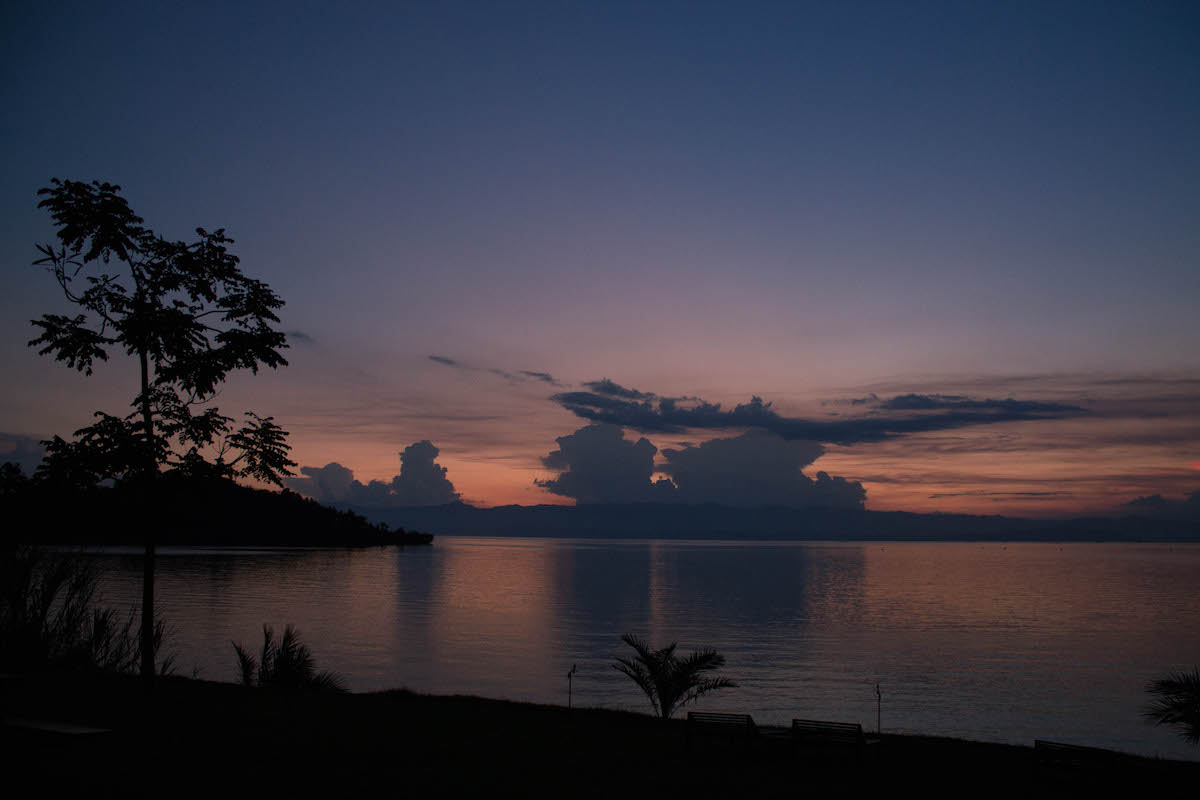
On top of that they have kayaks and canoes to rent out and a little wooden deck with stairs onto the lake – it is the most magical place to enjoy sunset in the lodge with a glass of wine.
What I loved most
Although it is a hotel it still has that backpacker feeling to it. Prime location near the lake, tasty cuisine and service on point.
And yet all staff and managers will greet you by the name, the beers will be shared in the terrace to catch up with everyone’s activities during the day and managers will be having meals at the restaurant with clients.
It was a very warm atmosphere that made the stay even nicer.
What could be improved
The lodge uses solar power for Wi-Fi and lights. There is a backup generator which runs from sunset to morning, so you will always have light in the common areas and private room.
Wi-Fi is another world altogether. I am happy to travel to places without Wi-Fi, but if it is advertised as a lodge with Wi-Fi, I do expect for it to, at least, be running.
We found it slow when it was running (which I understand and have no complaints about, after all – I was on vacation) but in the morning when the generator wasn’t working, and the sun wasn’t hitting the solar panels, there was no connection. It was quite frustrating not being able to check which activities to do while having breakfast.
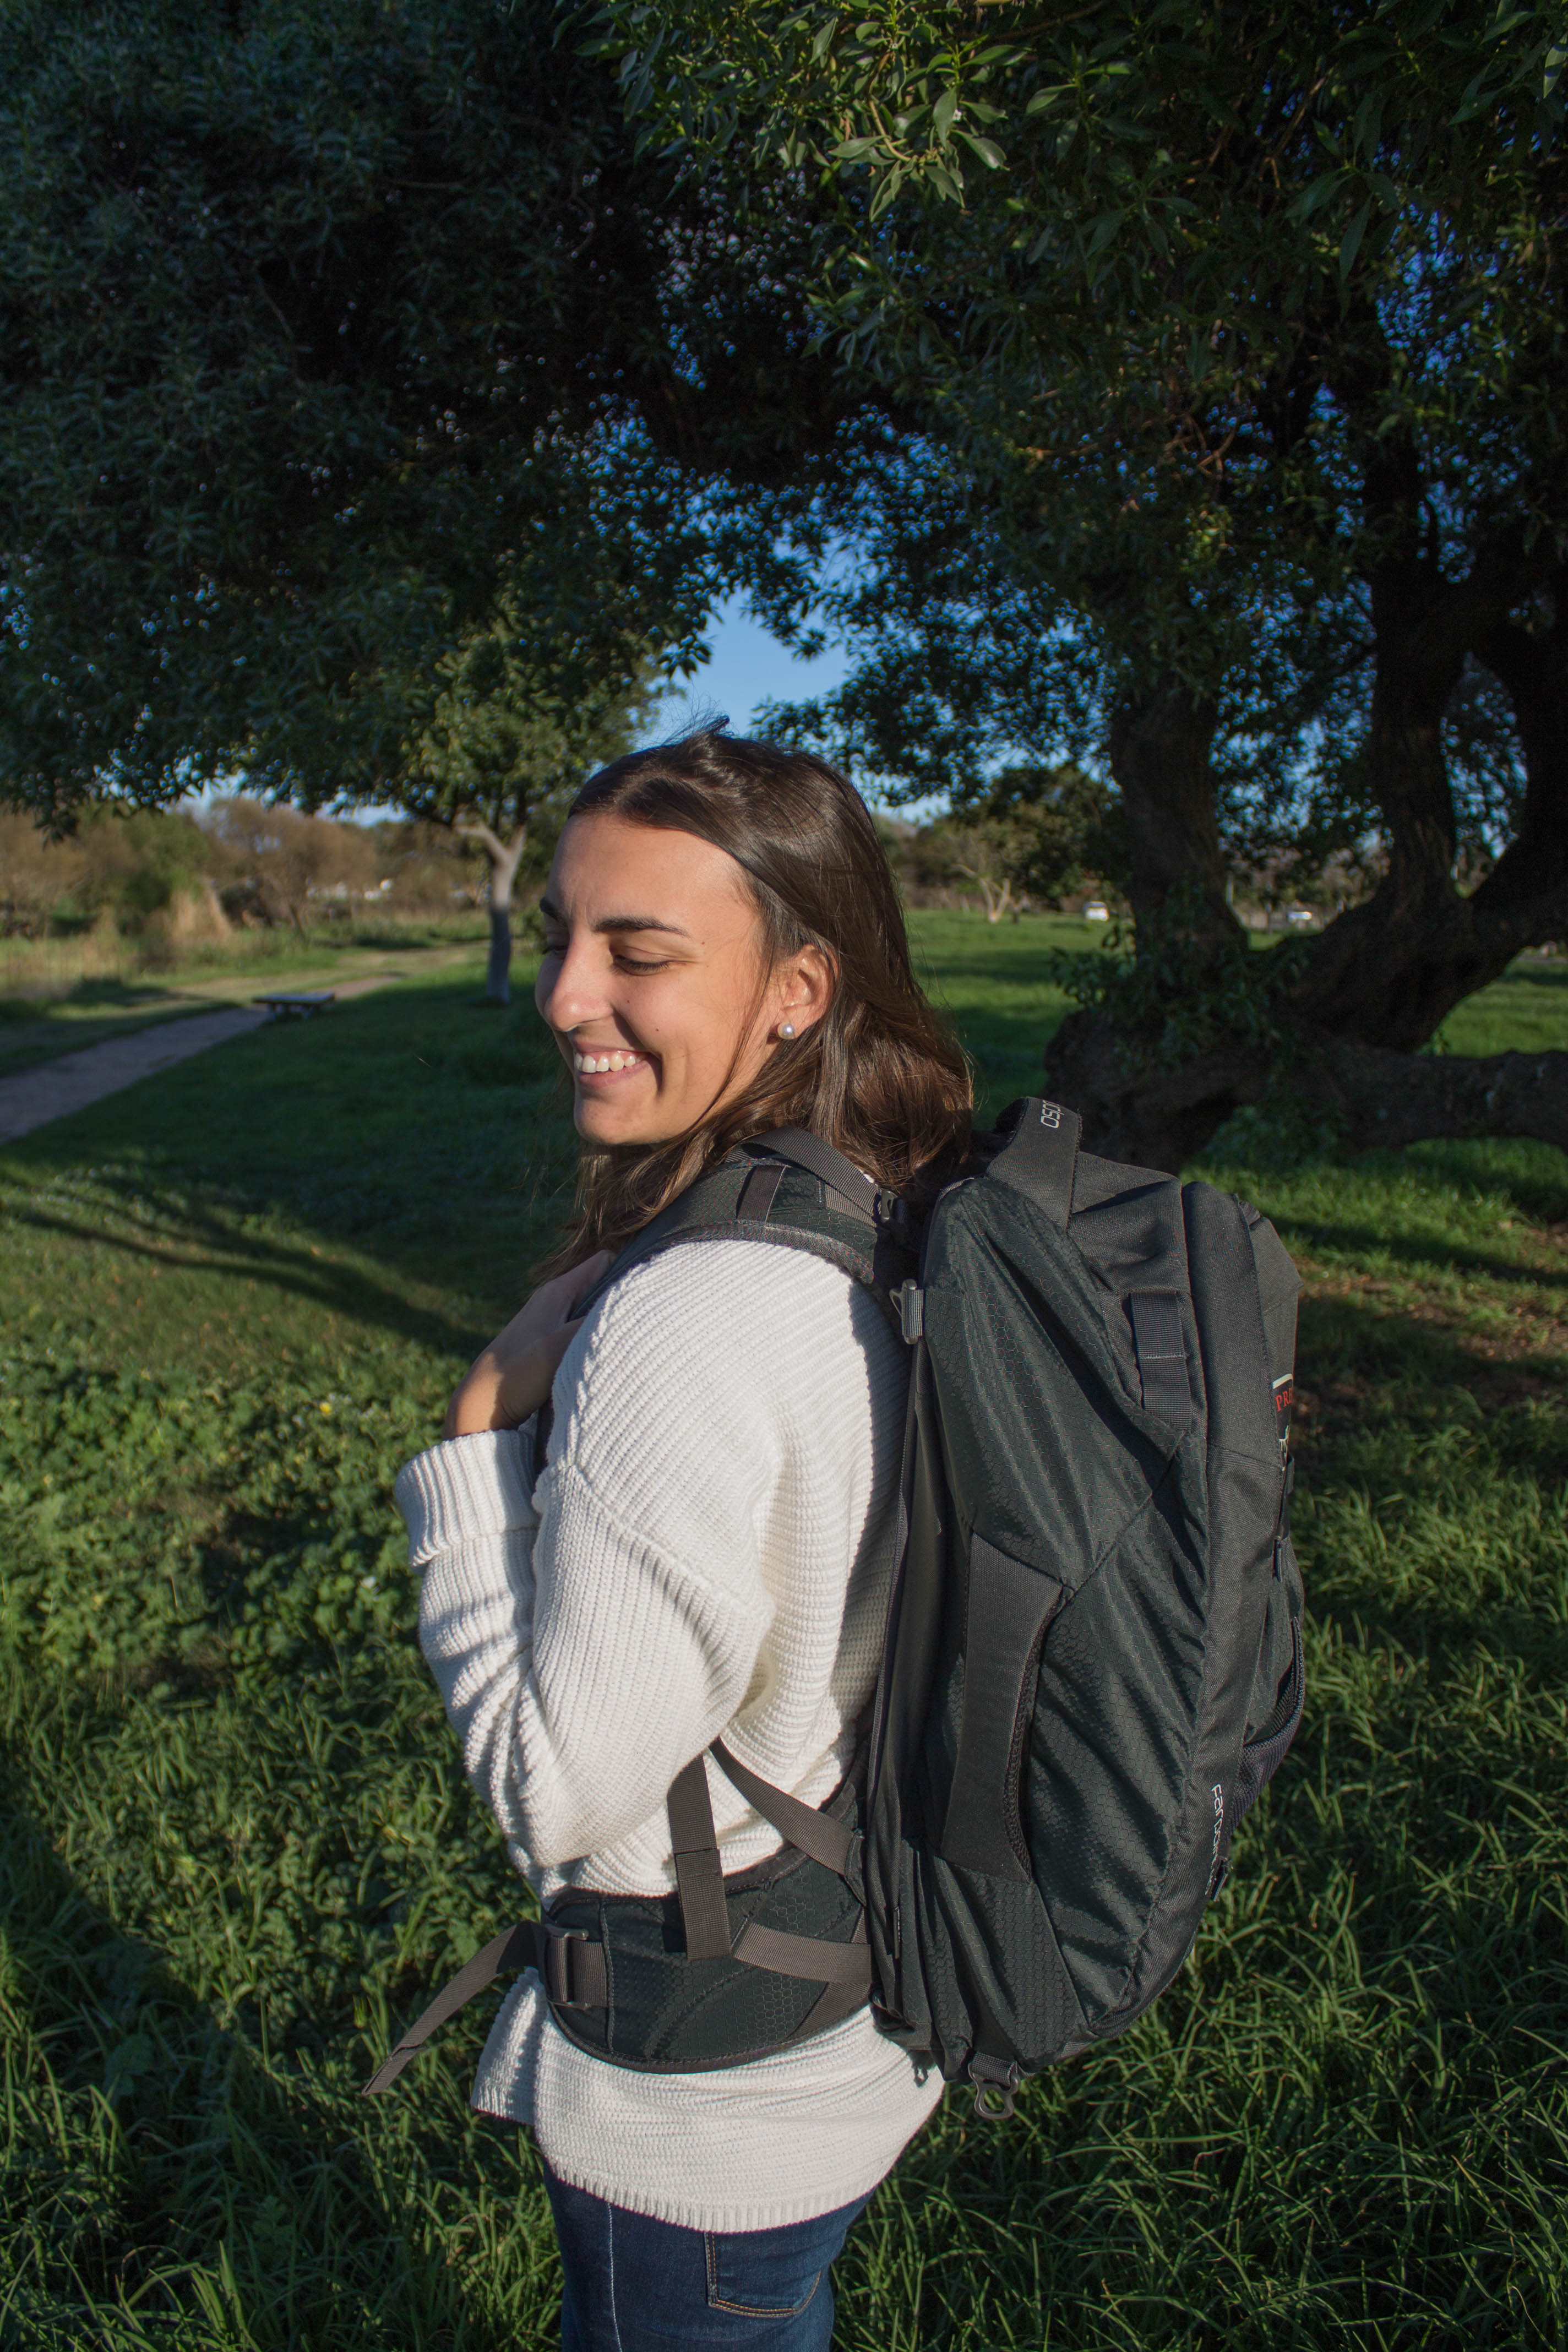
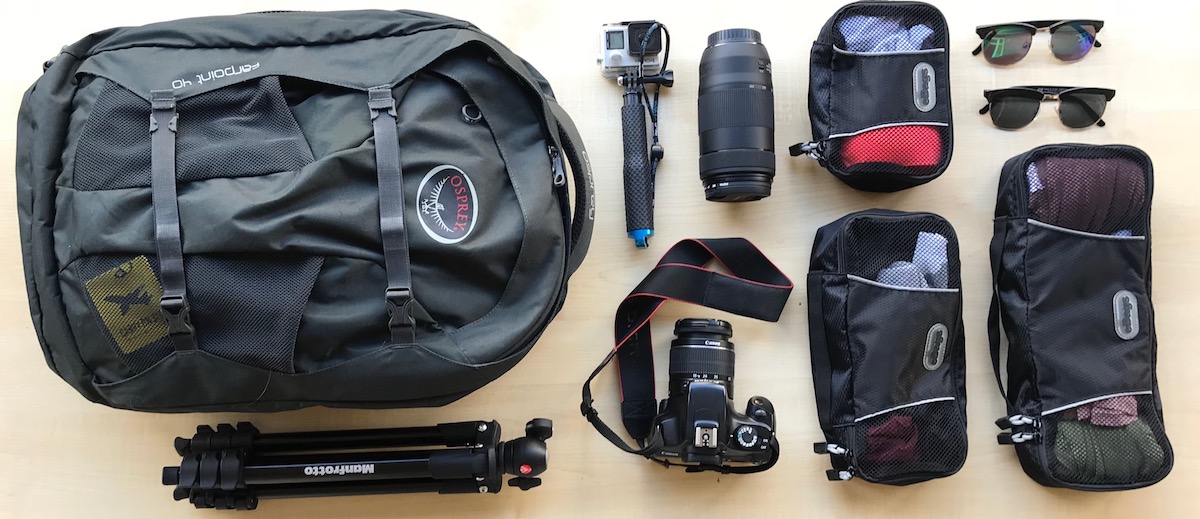
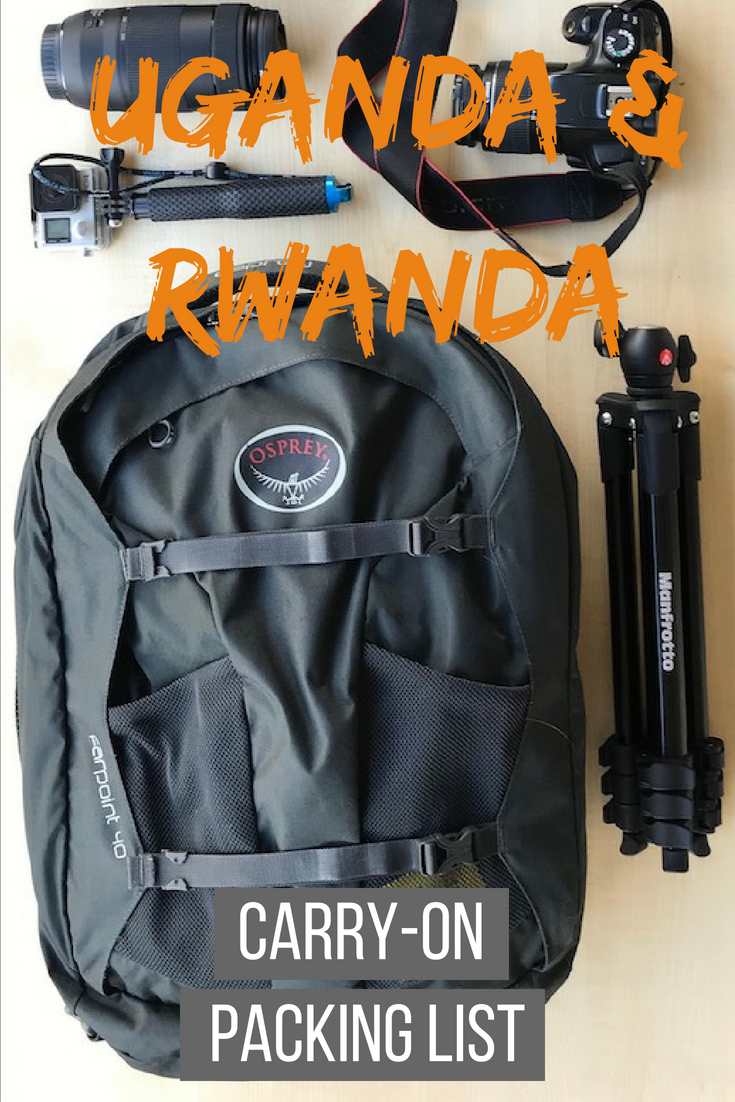
Travelling to Africa seems complicated with all the health requirements, visas and the general feeling of not knowing exactly what you should pack with you. Here’s your Uganda & Rwanda carry-on packing list to help you pick everything you need for your holiday.
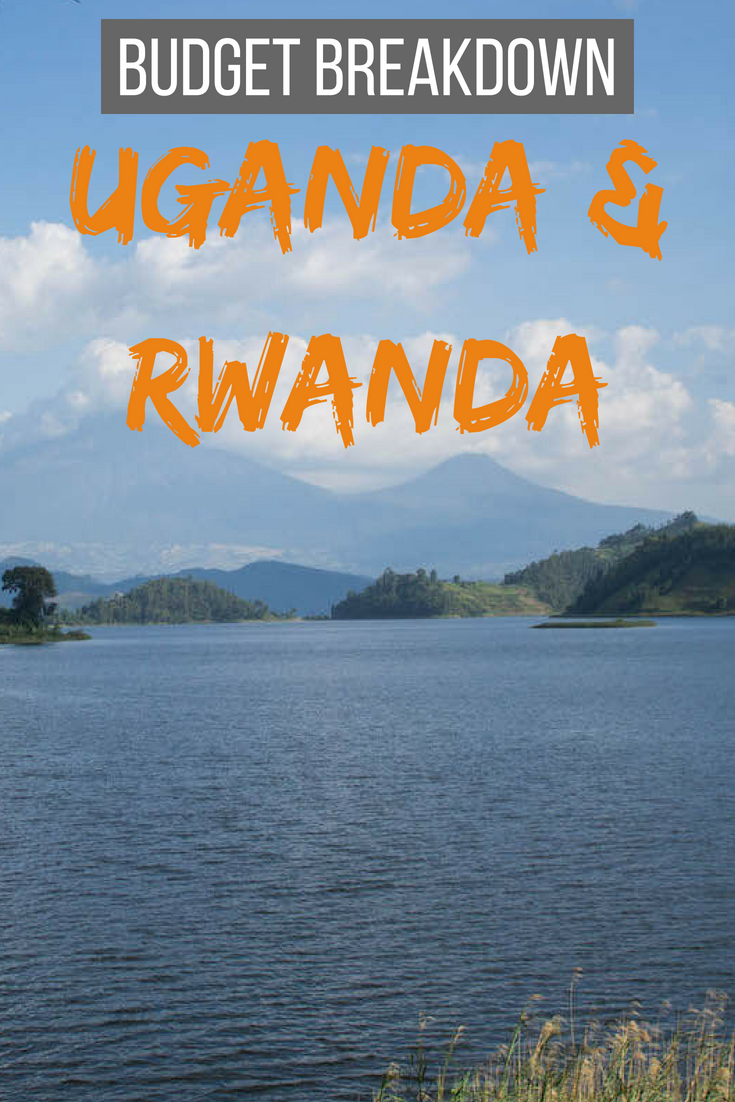
I recently finished my 10 day trip exploring Uganda and Rwanda. I spent the time doing the famous gorillas tracking excursion, eating delicious freshly caught fish and marvelling at the greenery around me. I could have spent a bit less but didn’t want to compromise my experience, so while I tried to stay at the entry-level option, I wasn’t too picky with the price tag. This is why I kept track of all my expenses so I could do a Uganda and Rwanda budget breakdown for you guys.
How much does a 10 day trip in Uganda and Rwanda cost?
This is the first question most people ask themselves when getting inspired for their next trip. Let me tell you, despite what you may think, Uganda and Rwanda are not cheap countries to visit. Most people assume that Africa is cheap and they are very wrong – most touristic African countries use the USD as their main currency. Depending on your planned activities (such as gorilla tracking, safari, etc) you will need more or less money. It really comes down to your itinerary and the number of days you’re planning to stay.
How much did I spend on a 10 day trip in Uganda and Rwanda?
Total spent: 2157,04 USD*
Average spent per day based on above: 215,74 USD
*Based on two people travelling
Uganda and Rwanda budget breakdown for 10 days
Pre trip expenses
Flights 405,17 USD: I bought return flights from Cape Town with a connection in Johannesburg to fly to Kigali. It made more sense with my itinerary and the price was a tiny bit cheaper than flying to Kampala (and less hours by road to the gorillas!)
Travel insurance 69 USD: World Nomads explorers plan
Vaccinations 52 USD: for the yellow fever vaccination. I also purchased Malarone (preventive malaria pills) for 18 days (1 day before, during and 1 week after)
Visa 100USD: I needed a multiple entry visa to Rwanda and single to Uganda I bought the East Africa Tourist visa (that allows multiple entry to Uganda, Rwanda and Kenia). Keep in mind it takes a whole page of your passport!
Gorilla permits 600 USD
During the trip expenses
UGANDA Expenses
Accommodation:
We picked lodges by location and their standard of service. I wanted to make sure that some more dollars thrown into the basket would grant me the best of experiences and a comfortable one. For the first time in my life (also there aren’t that many options) I was less picky with accommodation and allowed myself some more budget to spend.
Bwindi backpackers 73,67 USD, per room per night
Lake mutanda 200.00 USD, per room per night
Lake bunyonyi 190.00 USD, per room per night
Food and beverages:
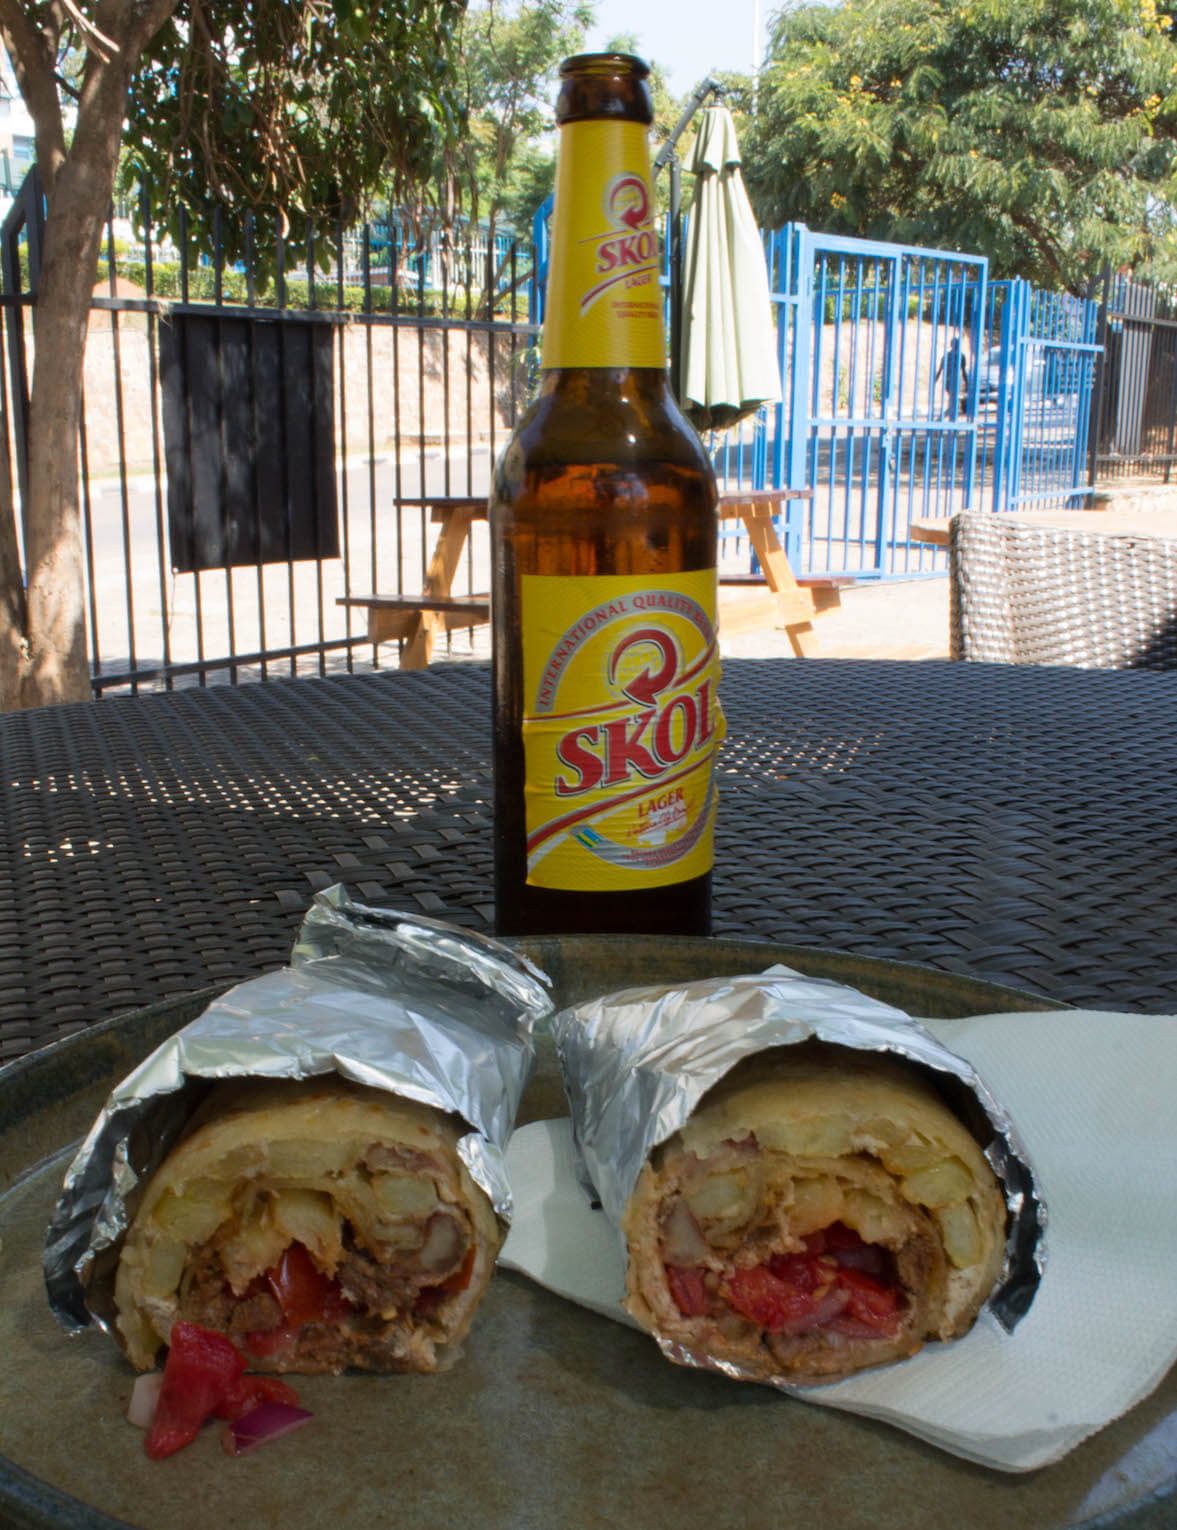
I found drinks to be extremely cheap, even in hotels/lodges. When you start ordering food, prices were in the line of what I’m used to in Europe.
1 big beer 1.35 USD
1 bottle of “fanta” in the village shop 0.27 USD
1 normal beer 2USD
Cigarettes 3USD
Lunch meal 10 USD
Activities:
Since these are only offered to travellers, the prices are higher than other things in the country. I also found that most offered activities involved a minimum of two locals (as guides/armed guards…) and I think this contributes to the social environment of local communities. I found it quite hard to do things on my own using the lodge as a base. Some walks could be done alone but besides these there are no marked hiking trails, so you do need a guide and so on.
1 waterfall hike (3-4h) 20 USD per person
Renting a canoe for own use 8USD per person
Sundowner boat 20USD per person
Transport:
together with accommodation, transport is the area where I spent the most. I did not want to use public transport to cross borders so I paid for private transfers. Also, in my head and in google maps, distances between places seemed quite close but gravel (or should I say dirt) roads take longer. I would not have cut out any of my stops during my 10 day trip around Uganda & Rwanda for the long commutes, but it is something to keep in mind when planning.
1 private transfer from lodge to gorillas (45min)+ wait all day then to next lodge (1h30) 80USD 1 transfer from Kigali to Bwindi 200 USD
1 transfer from Lake Mutanda to Lake Bunyonyi 40.54 USD
1 transfer from Lake Bunyonyi to Gisenyi (in Rwanda) 150 USD
Other expenses
Porter to carry bags while hiking 25 USD – I didn’t use that, but it’s encouraged to help the community. I had a small backpack with me and I’m fitenough so there was no need for that.
1 piece of clothing for laundry 0.27 USD
Fridge magnet souvenir 4 USD
RWANDA Expenses
Accommodation:
this was a shorter stay than Uganda, so we picked the resort for the views and good experiences near Lake Kivu over price. In the capital Kigali I just wanted good views of the city and picked the hotel based on that and good reviews. Paradise Kivu running an offer of dinner bed & breakfast for 150 USD the room as opening year
Urban by City blue Kigali 33.75USD
Food and Beverages:
food in Rwanda was as delicious as Uganda, but also a little bit more expensive. You could see there were tourists restaurants in the main cities and locals as well as the receptionists at the hotels are still wary to recommend a proper street or local restaurant to tourists. If you go to Kigali, do not miss “Living in Kigali” because it is the best blog in town and helped me so much during my short stay in the city!
1 meal at a restaurant between 7.43 -9.72 USD
Beers at a local bar 1.40 USD
Beers at hotel restaurant 1.40-3.43 USD
2 mains and 2 beers at a restaurant in gisenyi 13.72USD
1 overpriced restaurant platter 16 USD
One rolex at a restaurant 4 USD
Water 1.14USD
Beer 1.14 USD
Transport:
Boda-boda is the word that moto taxis receive in most of East Africa. They are the best and funniest experience you could have in the country to move from one side and to the other. I also boarded for the only time in this trip, a public bus between Gisenyi and Kigali and was pleasantly surprised at the accuracy of timetables and comforts on the bus. The trip was stress free (Except all the times the bus stopped in the middle of what looked like nowhere to pick up and drop off travellers and locals).
1 Moto 10-15min 1.14 – 1.71 USD
1 Bus ticket from Gisenyi to Kigali 3.77 USD
Moto taxi from one side of the city to the other 1.71 USD
Activities
Renting 2 kayaks with guide 1 hour 52 USD
1 Permit for the hot springs 1.14USD
1 full body Massage in the hot springs 10min 5.72USD
Other expenses
Fridge Magnet Souvenir 3.43 USD
Postcard 2.29 USD
Budget breakdown conclusion
This was my complete Uganda and Rwanda budget breakdown. I spent 10 magnificent days discovering both countries and I was in completebliss for such amazing experiences. As a matter of fact, this trip was the single most expensive trip I’ve ever done, and I would repeat it again if the world wasn’t endless.
The biggest expense of this trip was accommodation followed by transportation. There is also a slight difference between Uganda and Rwanda. Uganda is a little bit more budget friendly for daily life as a tourist than Rwanda. If I had used more public transport I could have saved more money, but I was pressed for time and really wanted to use my leave days experiencing and not commuting. Also keep in mind most areas that I visited, even though they are areas tourists visit, there isn’t enough traffic to have public buses everywhere (Eg: arriving at the lodges next to the Bwindi forest).
This website uses cookies to improve your experience. We'll assume you're ok with thisCookie Settings, but you can opt-out if you wish. ACCEPTRead More
Privacy & Cookies Policy
Privacy Overview
This website uses cookies to improve your experience while you navigate through the website. Out of these cookies, the cookies that are categorized as necessary are stored on your browser as they are as essential for the working of basic functionalities of the website. We also use third-party cookies that help us analyze and understand how you use this website. These cookies will be stored in your browser only with your consent. You also have the option to opt-out of these cookies. But opting out of some of these cookies may have an effect on your browsing experience.
This website uses cookies to improve your experience while you navigate through the website. Out of these cookies, the cookies that are categorized as necessary are stored on your browser as they are as essential for the working of basic functionalities of the website. We also use third-party cookies that help us analyze and understand how you use this website. These cookies will be stored in your browser only with your consent. You also have the option to opt-out of these cookies. But opting out of some of these cookies may have an effect on your browsing experience.
Necessary cookies are absolutely essential for the website to function properly. This category only includes cookies that ensures basic functionalities and security features of the website. These cookies do not store any personal information.
Any cookies that may not be particularly necessary for the website to function and is used specifically to collect user personal data via analytics, ads, other embedded contents are termed as non-necessary cookies. It is mandatory to procure user consent prior to running these cookies on your website.